How to Annotate and Train a YOLOv11 Model With Oslo

Published on
Introduction
Welcome to Oslo! In this guide, we’ll walk you through the process of annotating and training your data with Oslo. By the end of this guide, you’ll have a better understanding of how to use Oslo’s annotation tools and how to train an object detection model using your annotated data.
Step 1: Create an Account
Create an account on Oslo by visiting our sign-up page. Once you’ve created an account, you’ll be able to access all of Oslo’s features, including annotation tools, active learning, and dataset management.
Pick a plan that suits your needs. Oslo offers a range of plans to cater to different team sizes and project requirements. You can choose from our Starter, Pro, or Enterprise plans, depending on the size of your team and the number of projects you’re working on.
Step 2: Create a New Project
Once you’ve created an account, the next step is to create a new project.
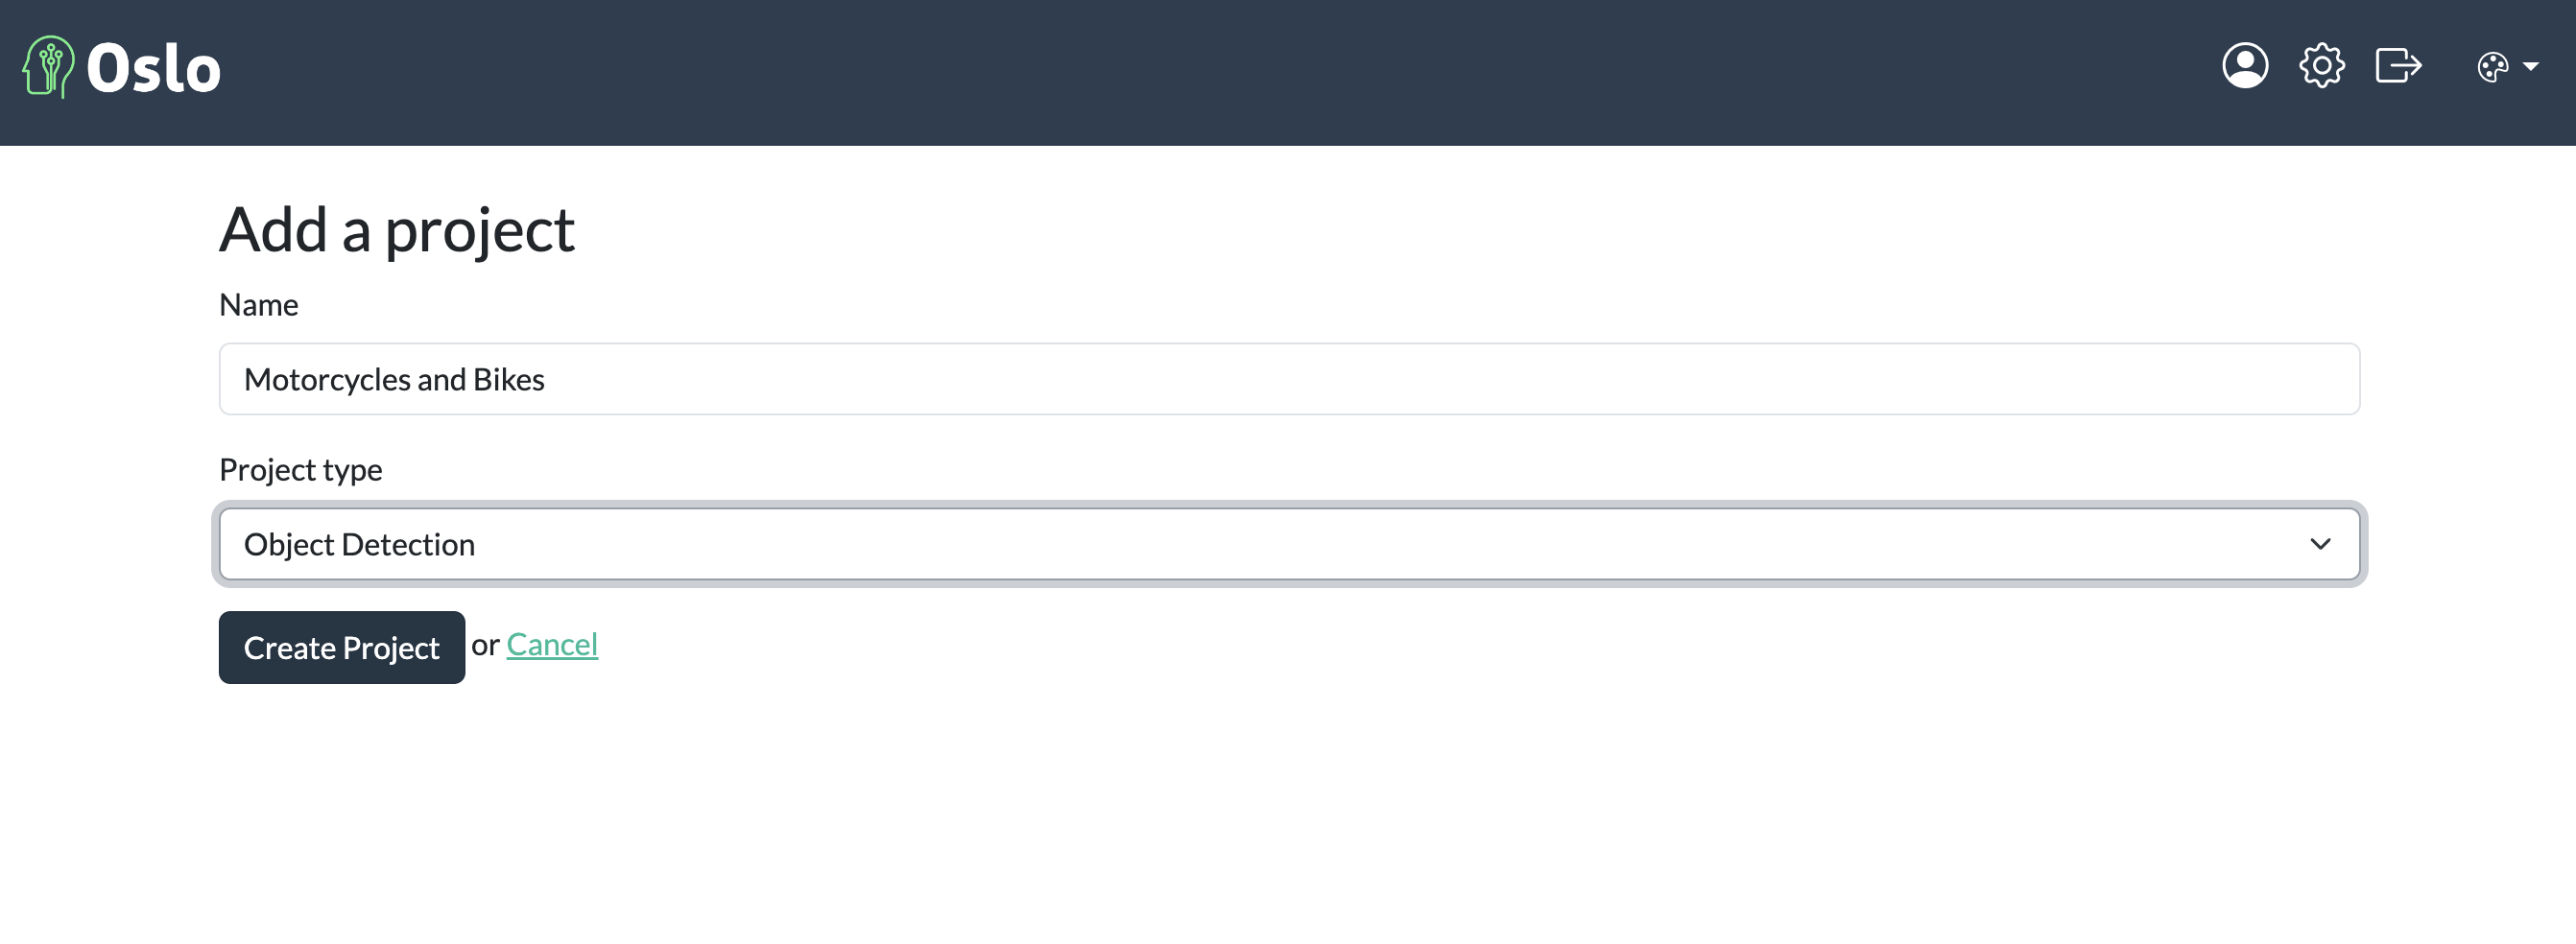
In this case, we will call our project “Motorcycles and Bikes”. Select the type of project, in this case we will be working with object detection.
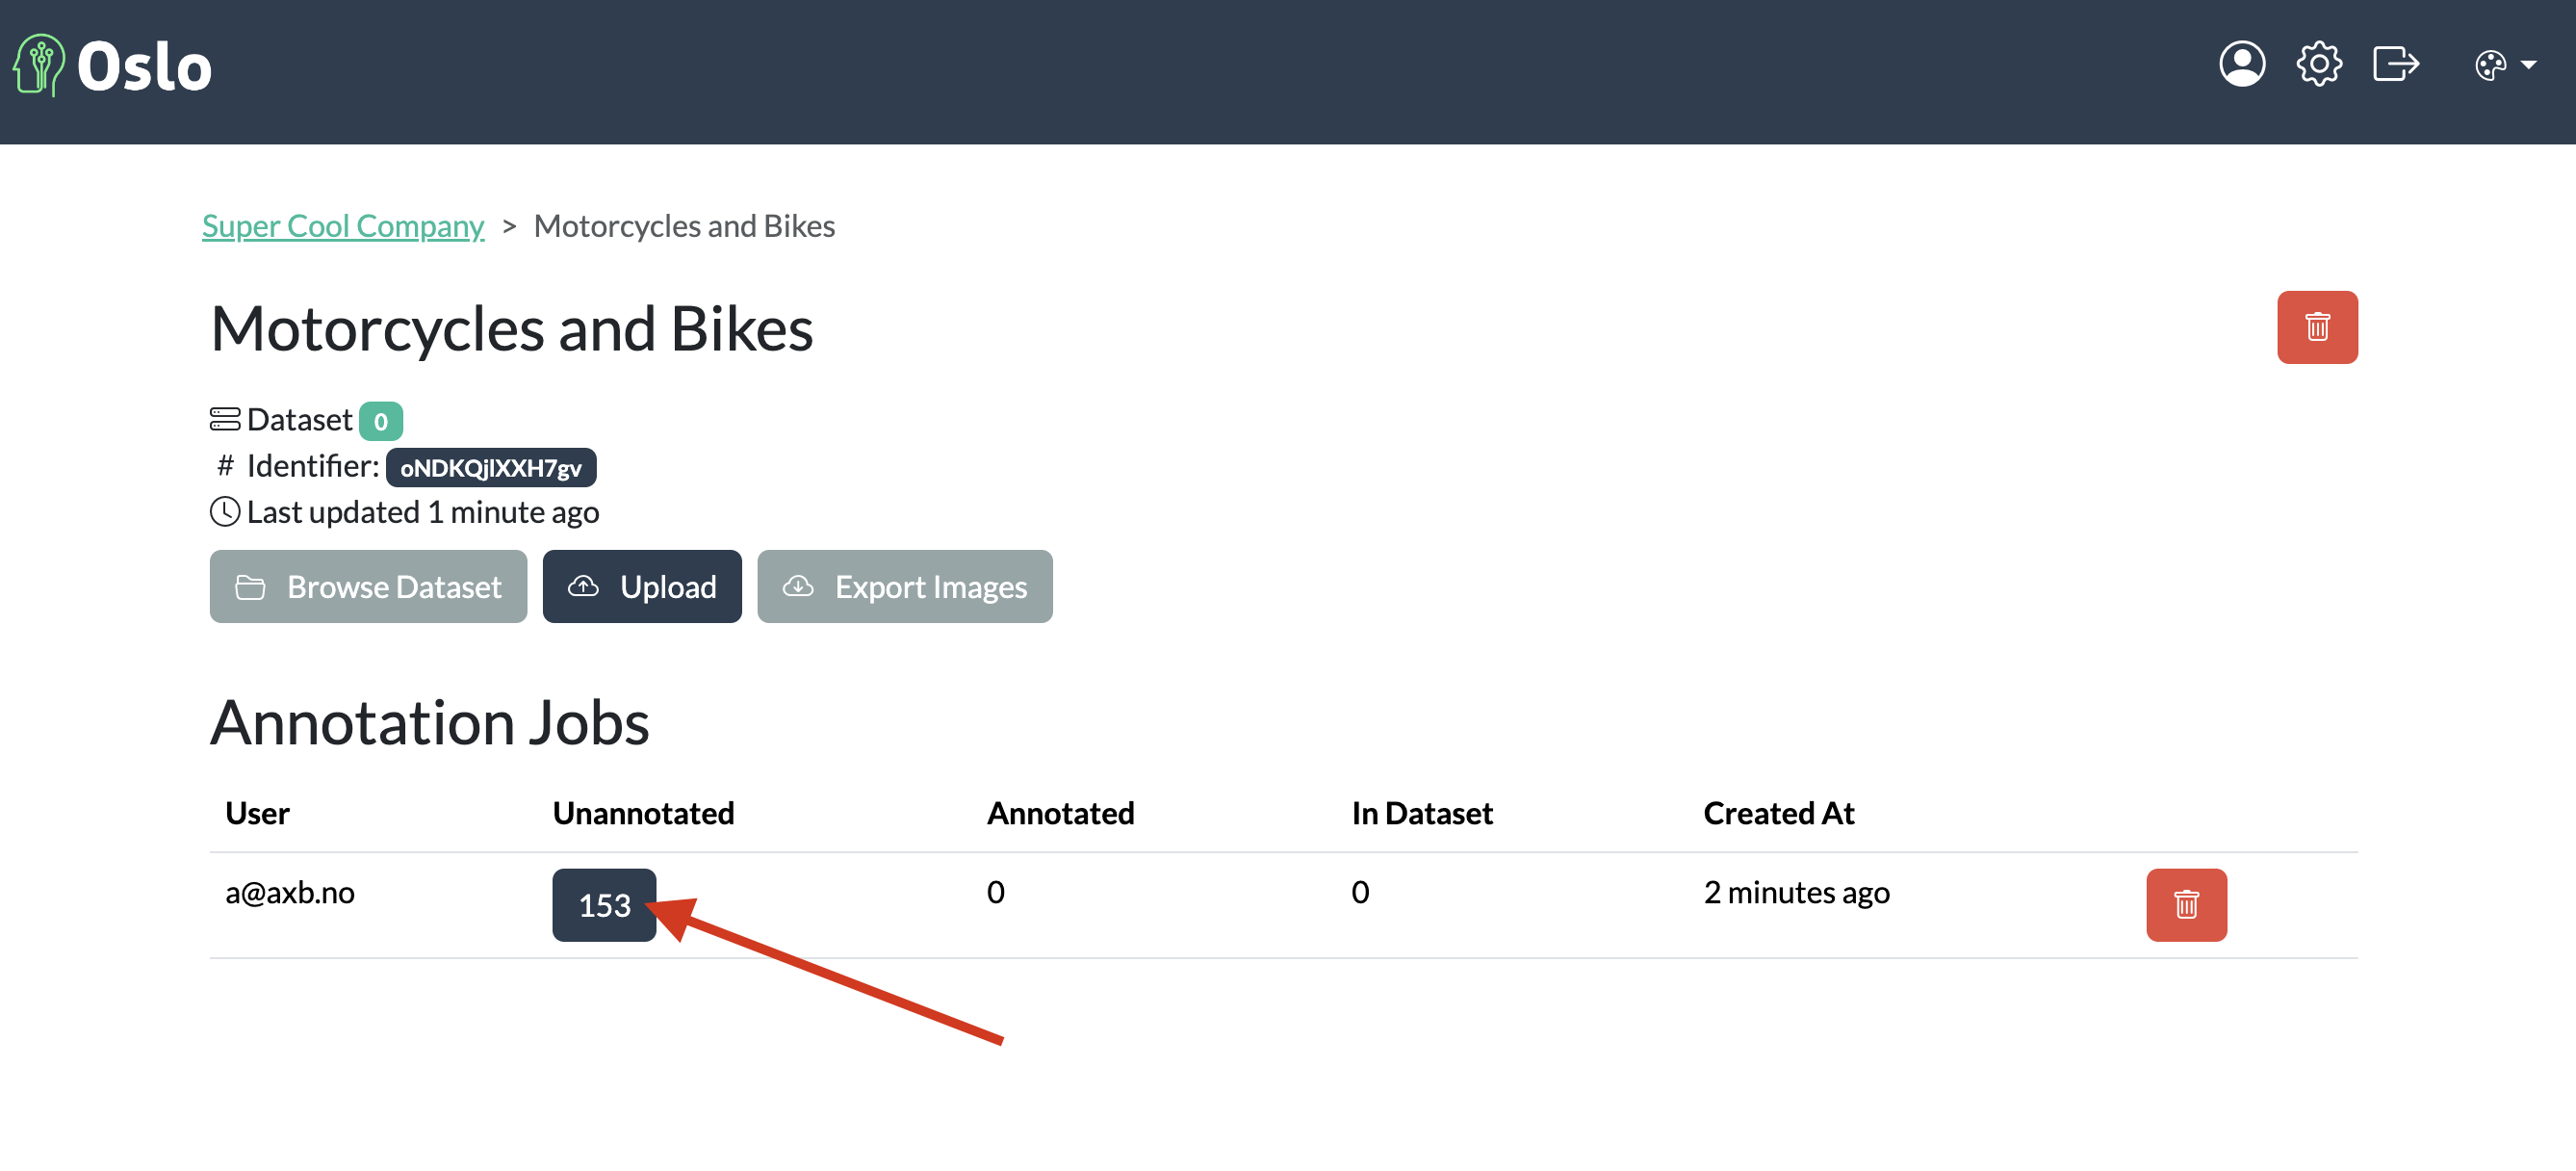
Step 3: Upload Your Data
After creating a new project, the next step is to upload your data. You can upload images and optionally annotations in various formats such as COCO, Pascal VOC, and YOLO. In this guide, we will be just uploading images. We will upload a set of motorcyle and bicycle images for annotation. Go to the project root, then click on the Upload button.
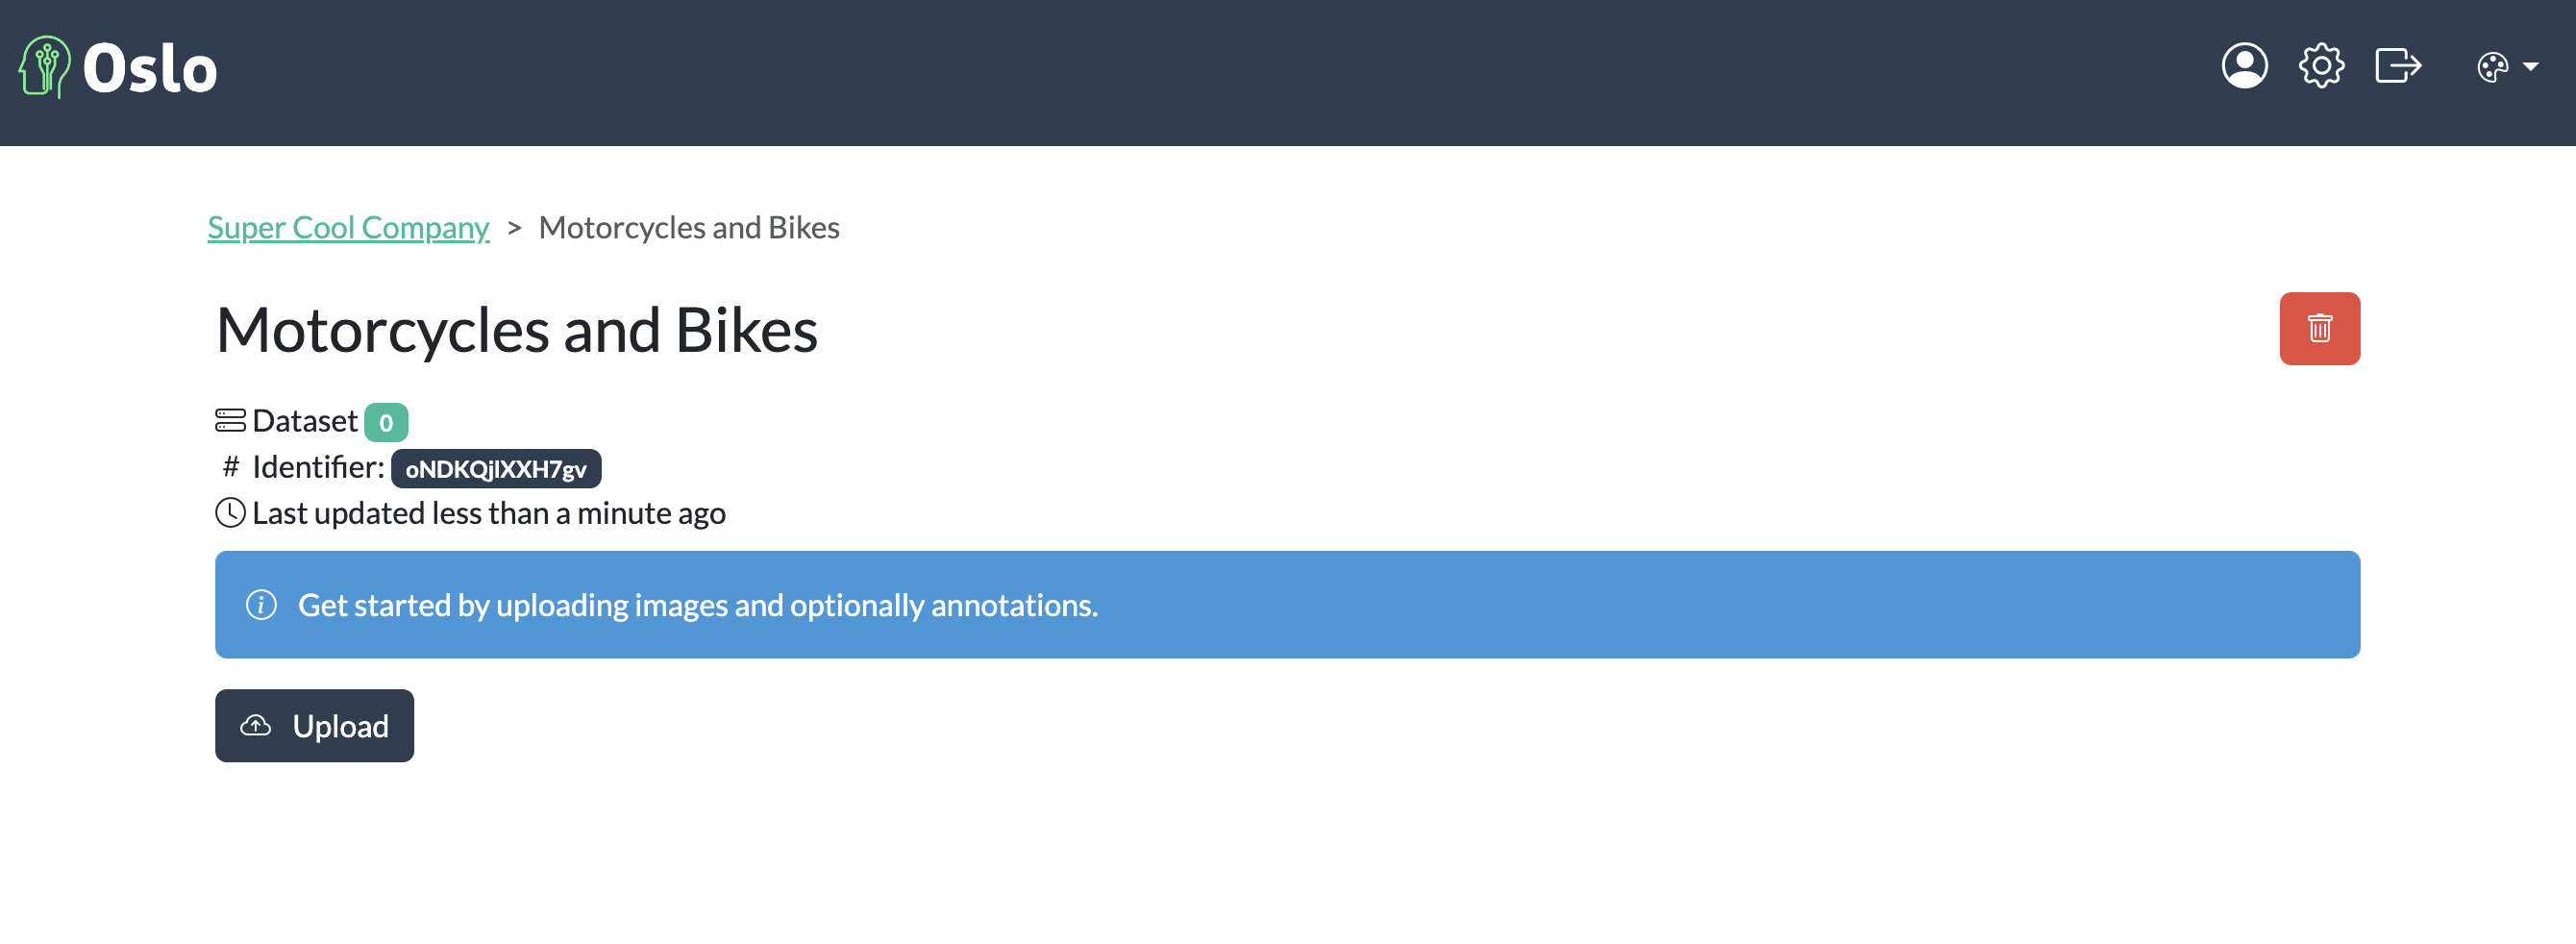
Project page
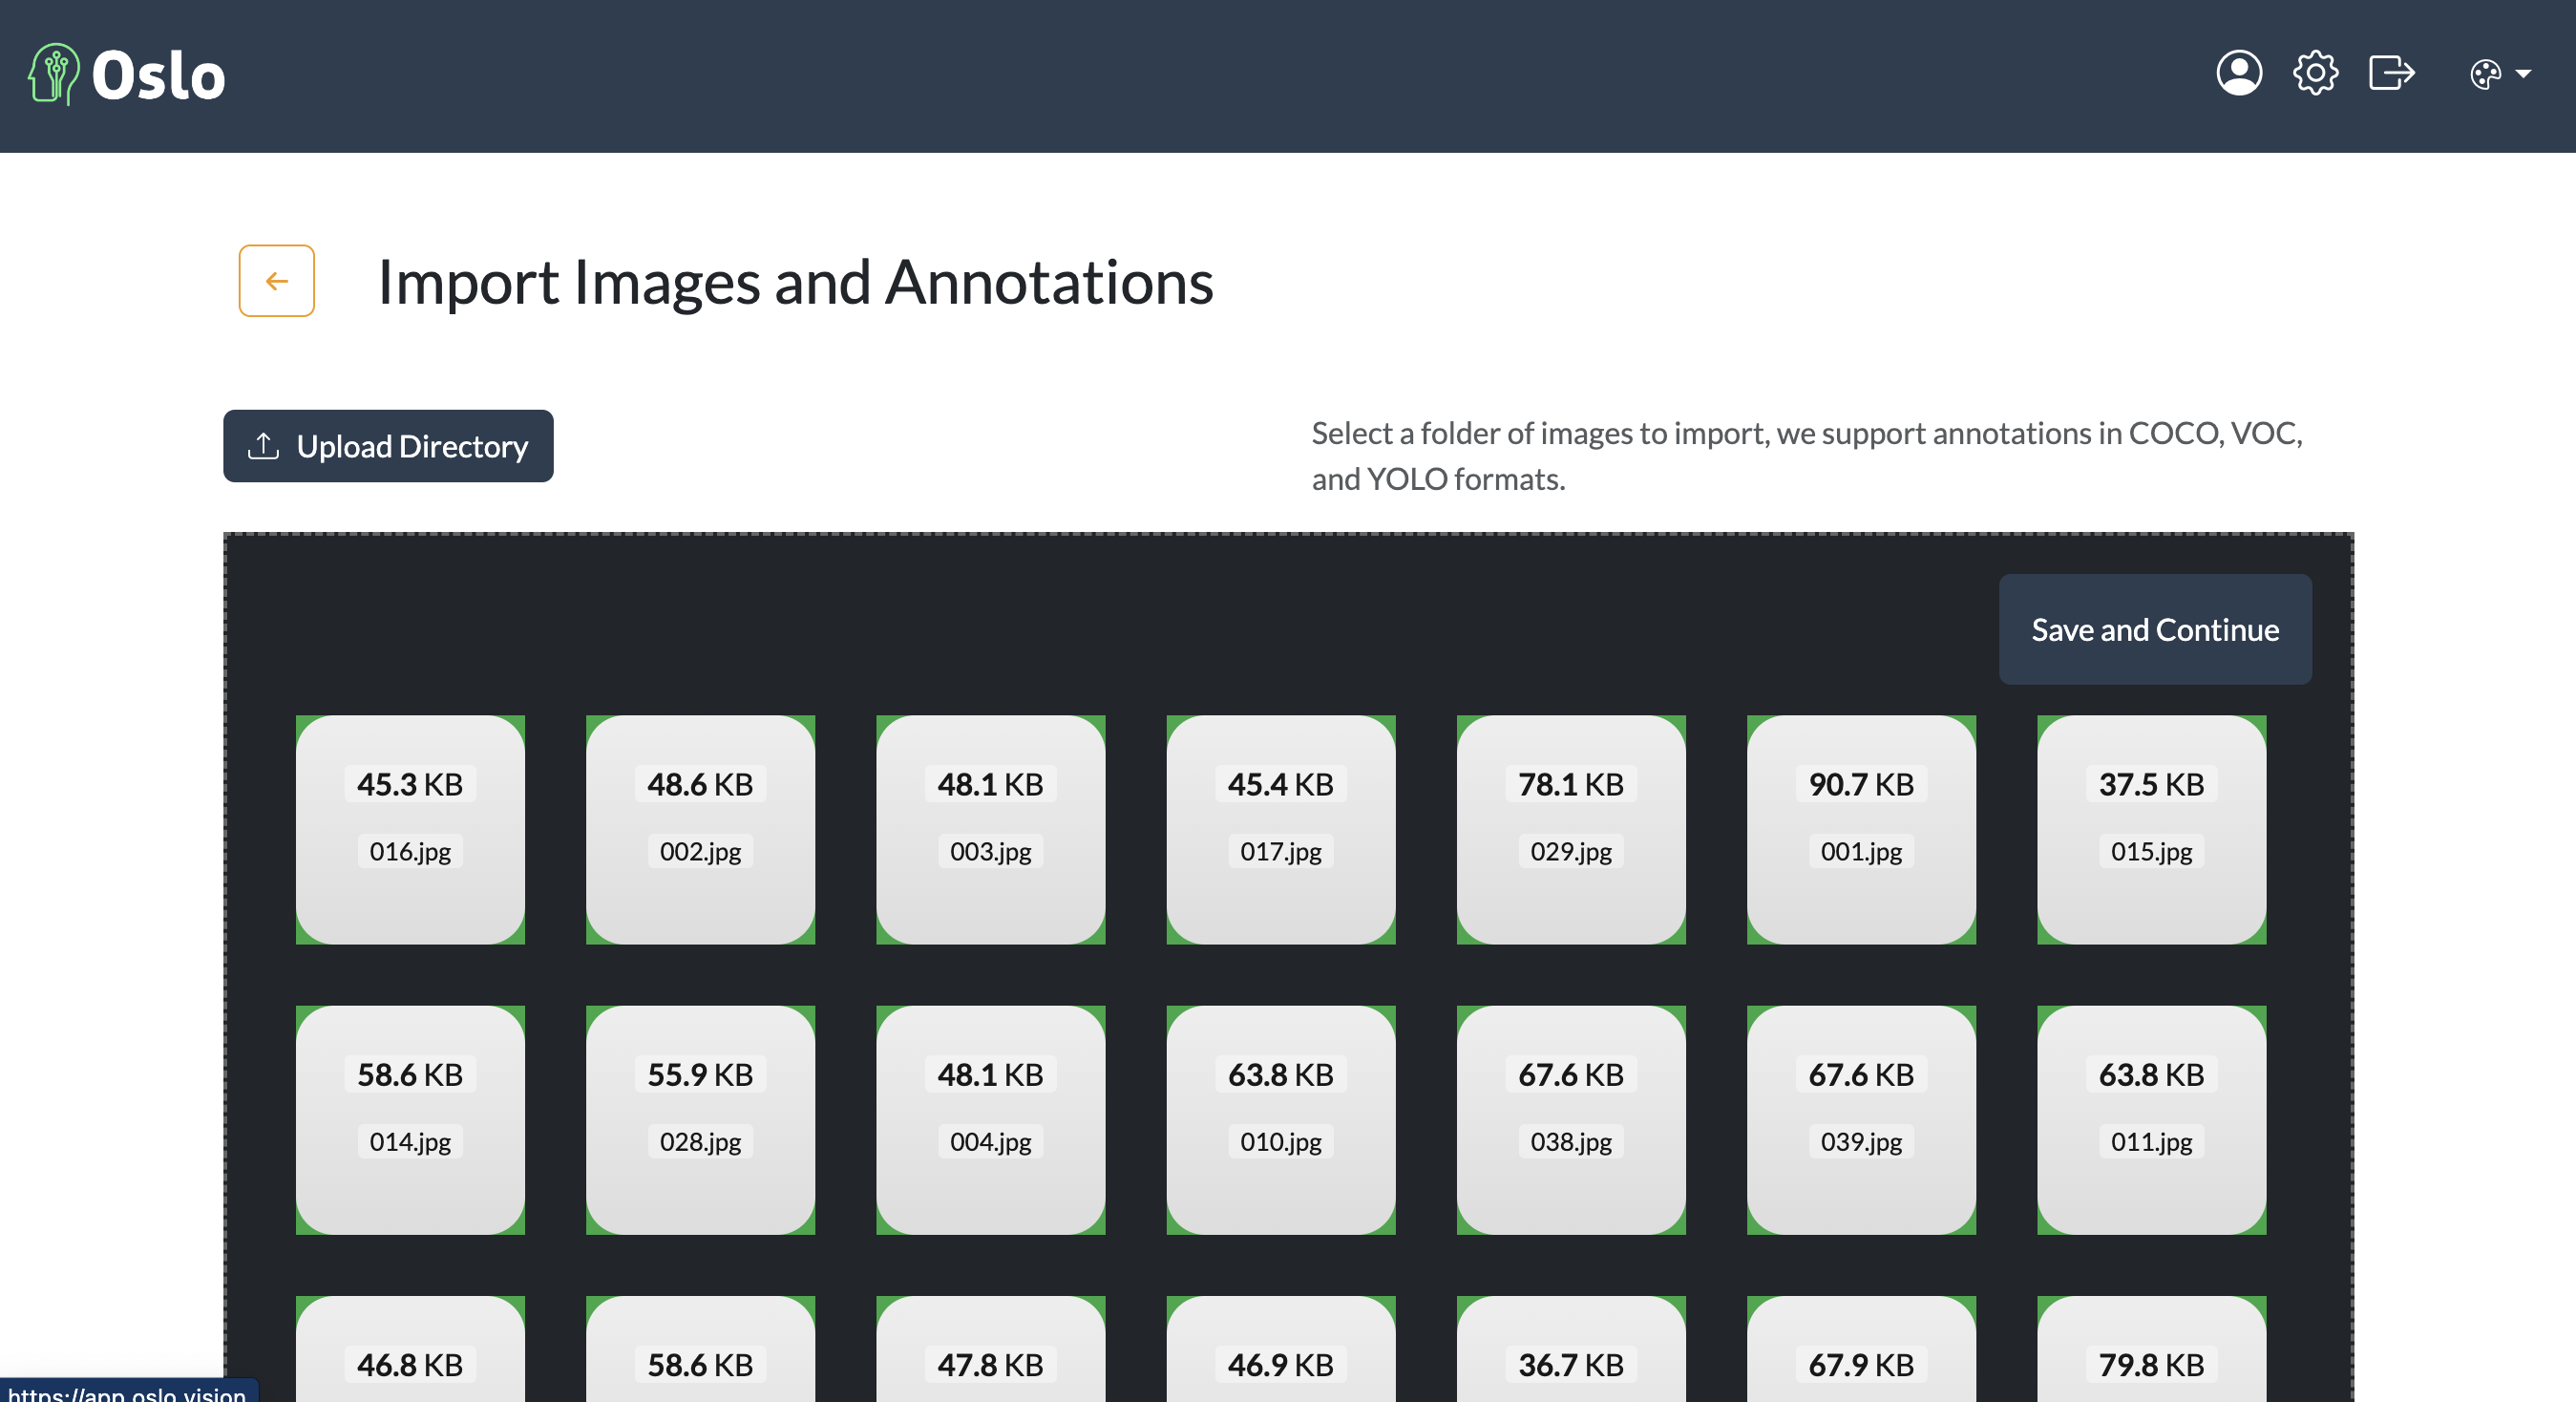
Upload data
If you would like to follow along with this guide, you can download the sample dataset from here.
Step 4: Annotate Your Data
Annotate data
Once you’ve uploaded your data, the next step is to annotate your images. Oslo provides a simple to use annotation tool that allows you to draw bounding boxes around objects of interest. In this case, we will be annotating motorcycles and bicycles in our images.
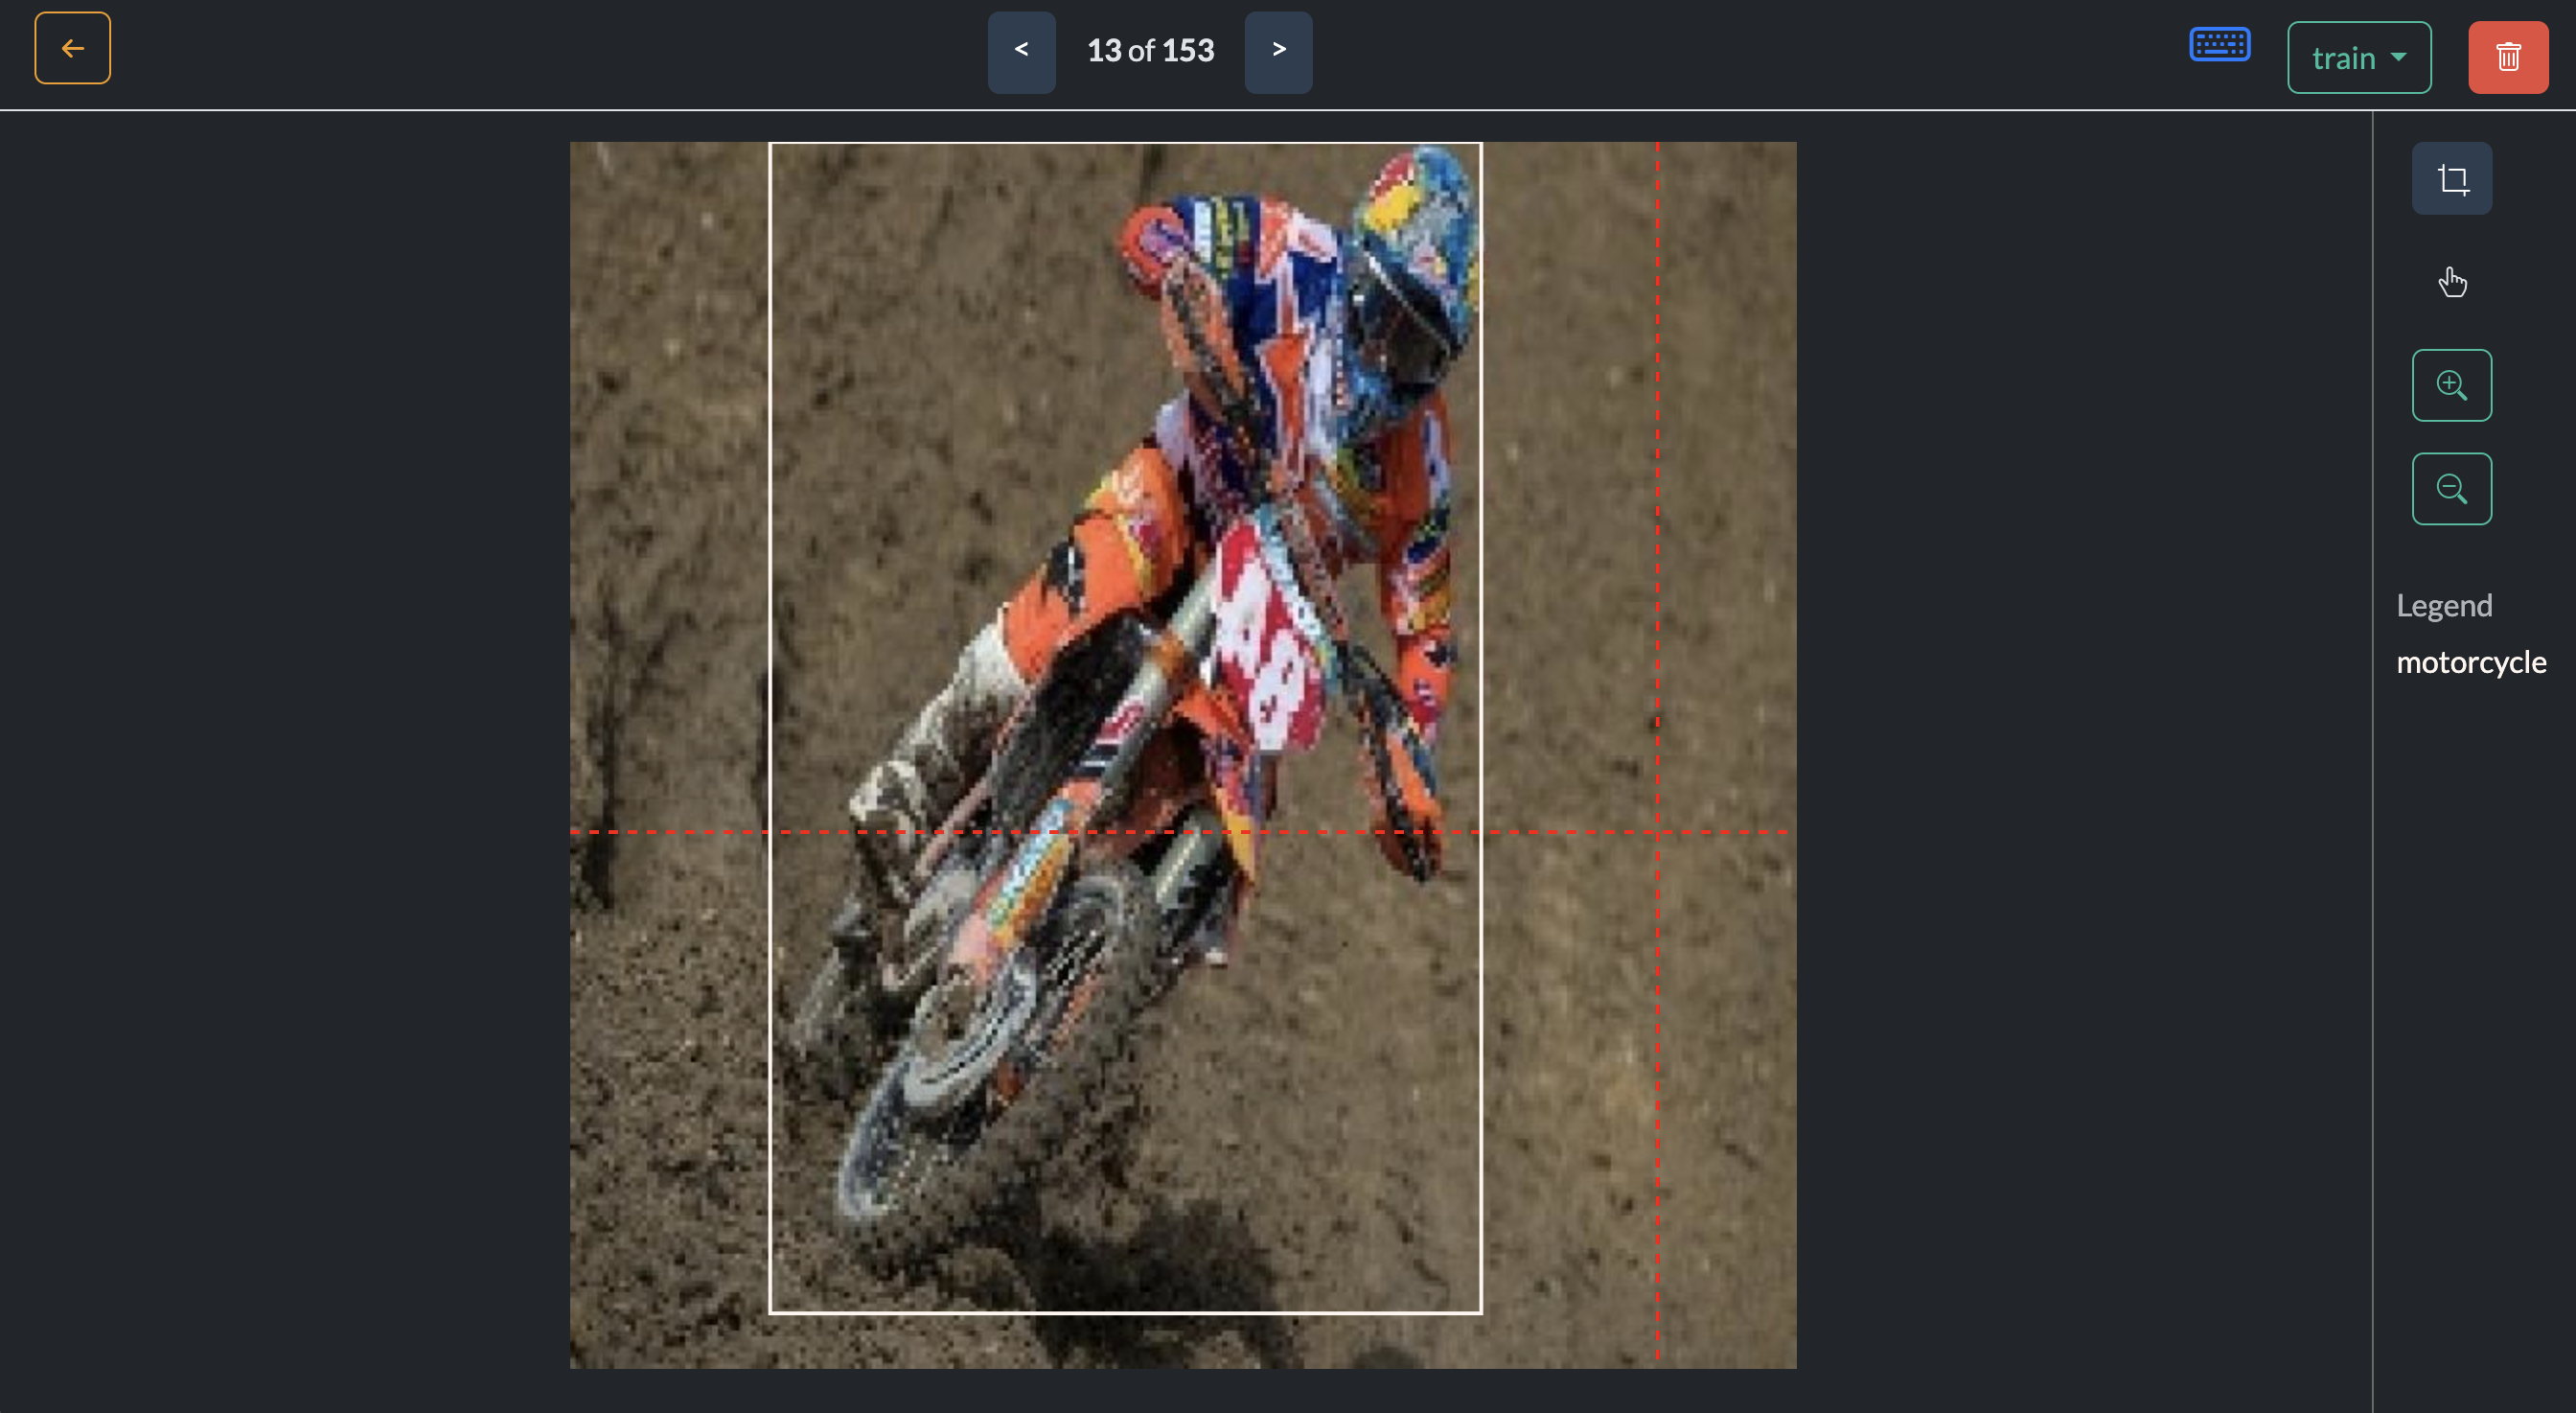
Annotate data
Step 5: Train Your Model
YOLOv11 is a state-of-the-art object detection model which has been recently released by Ultralytics and can be seen as an improvement over YOLOv8. It can be used for Object Detection, Image Classification, Image Segmentation and Key Point Detection. In this case, we will be training an object detection model.
After annotating your data, the next step is to train your object detection model. In this guide, we will be training a YOLOv11 model using google colab. We will go to the training section and click on the YOLOv11 training notebook. We will then follow the instructions in the notebook to train our model.
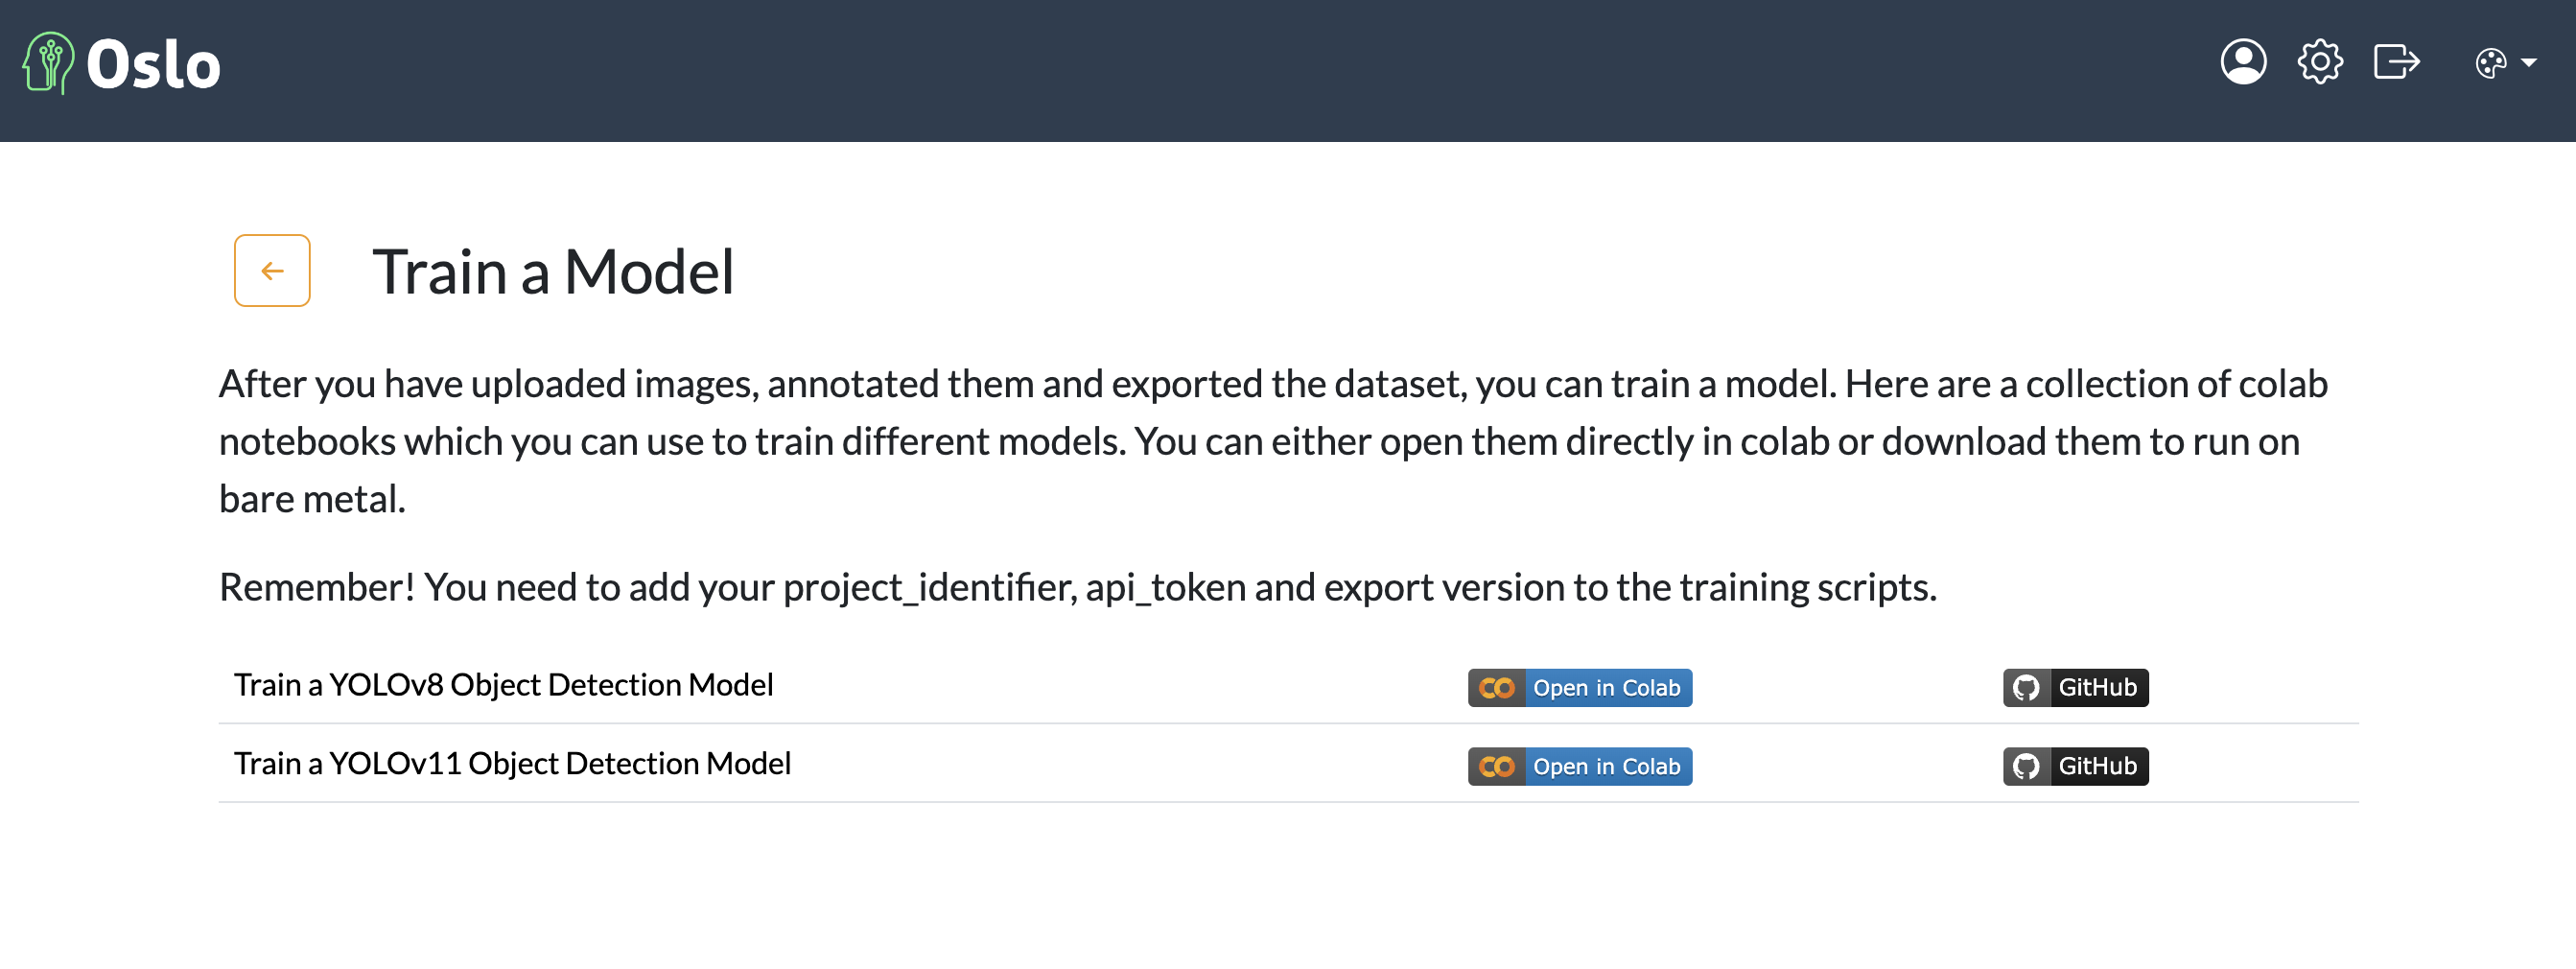
Train a model
You will need to create an API key and make note of your project ID. You will need these to authenticate your training session.
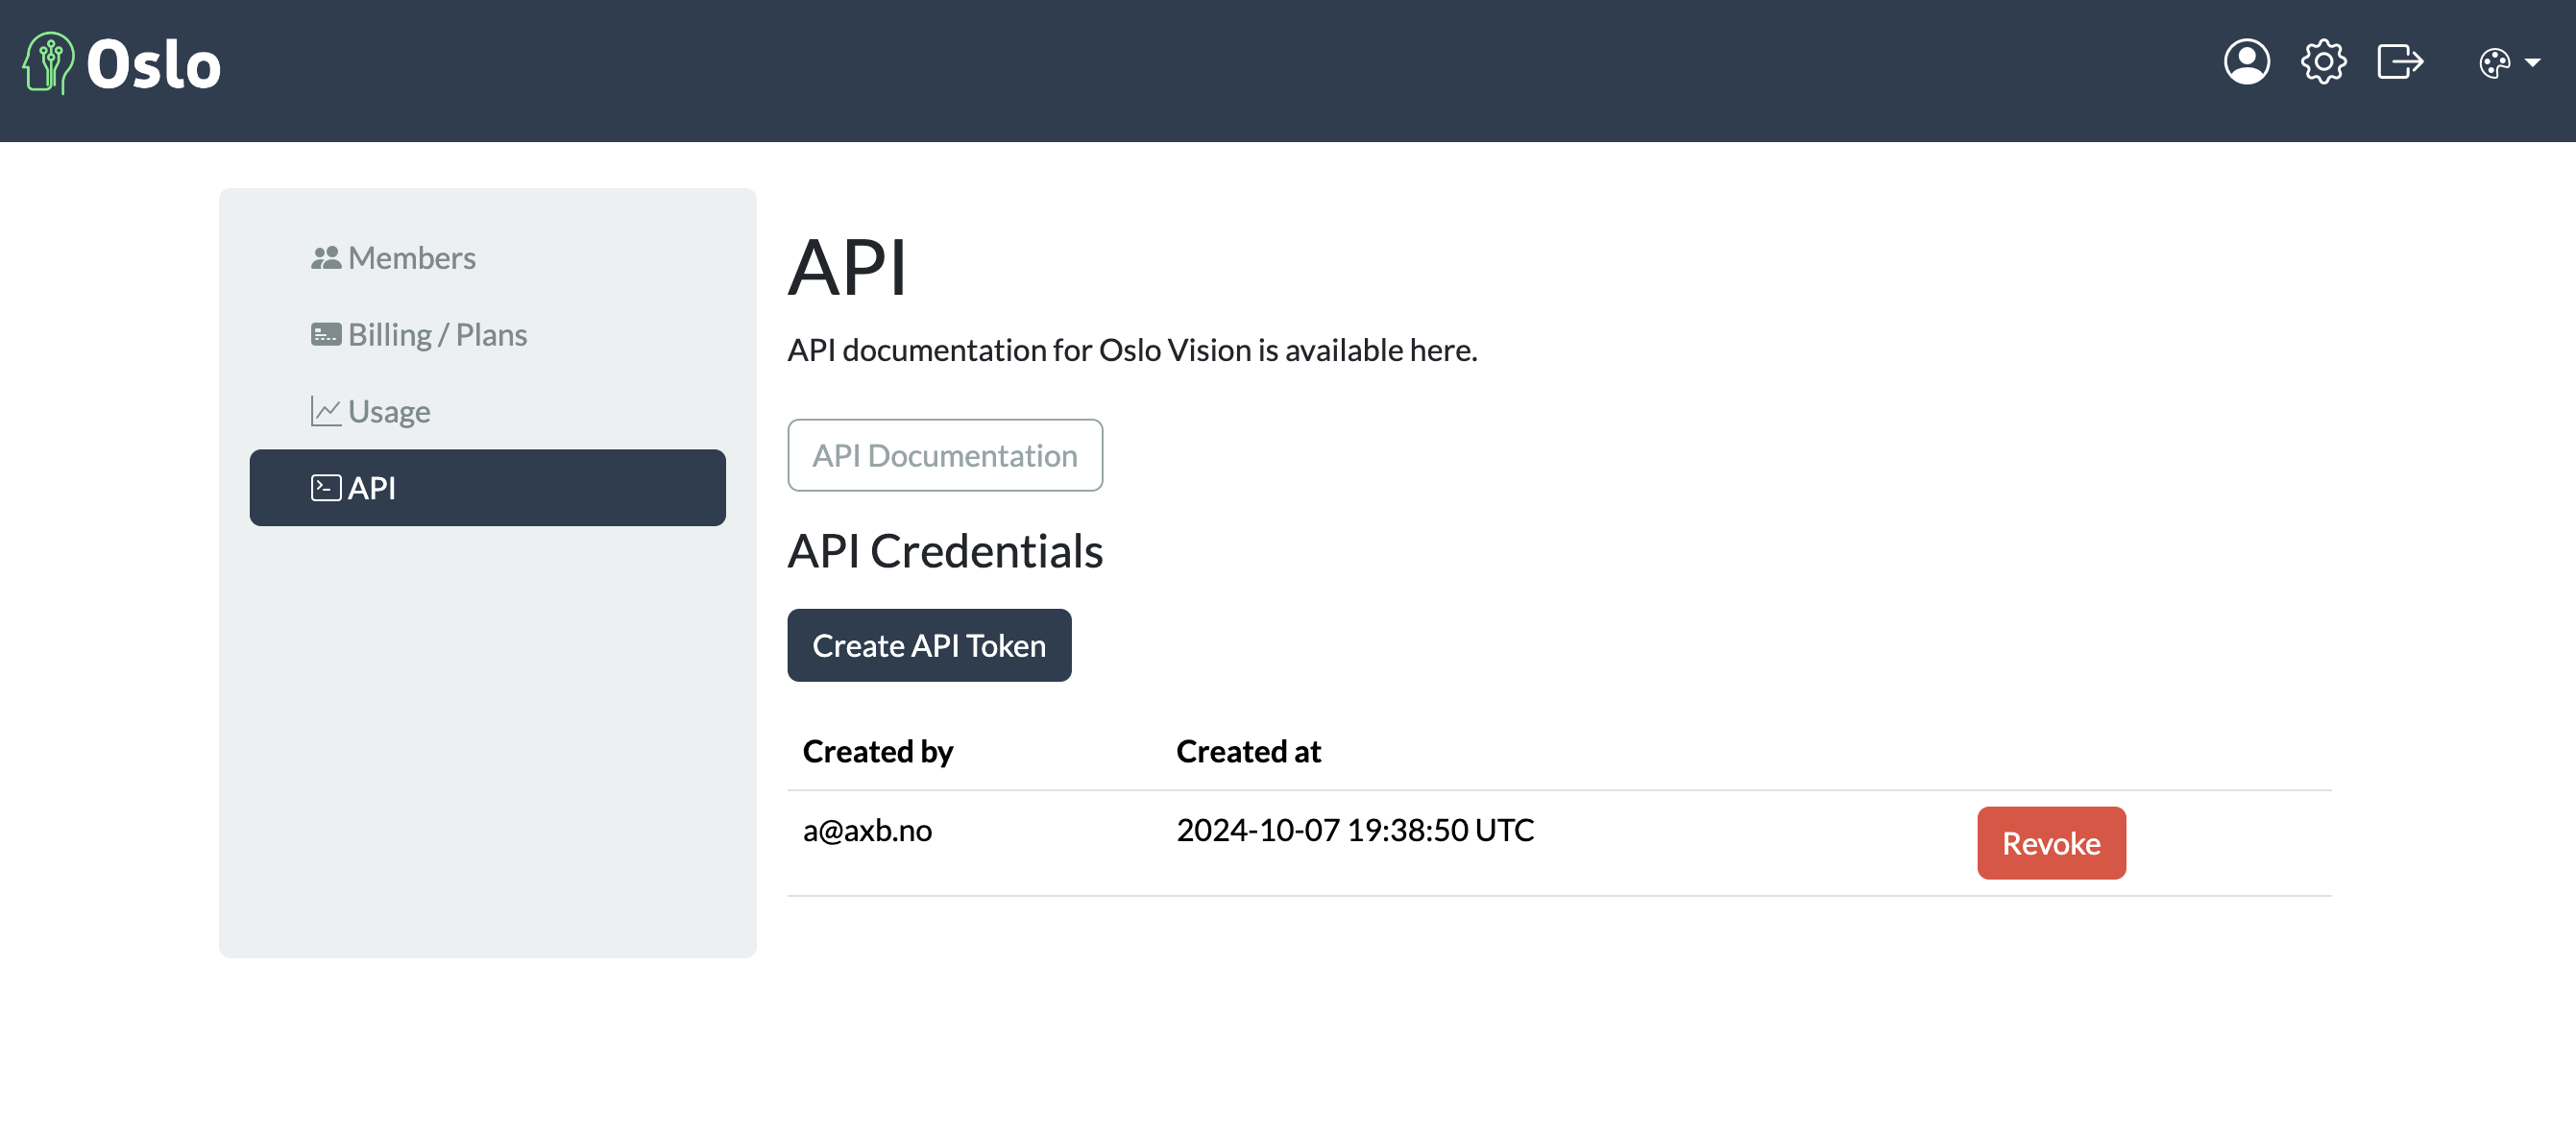
API key
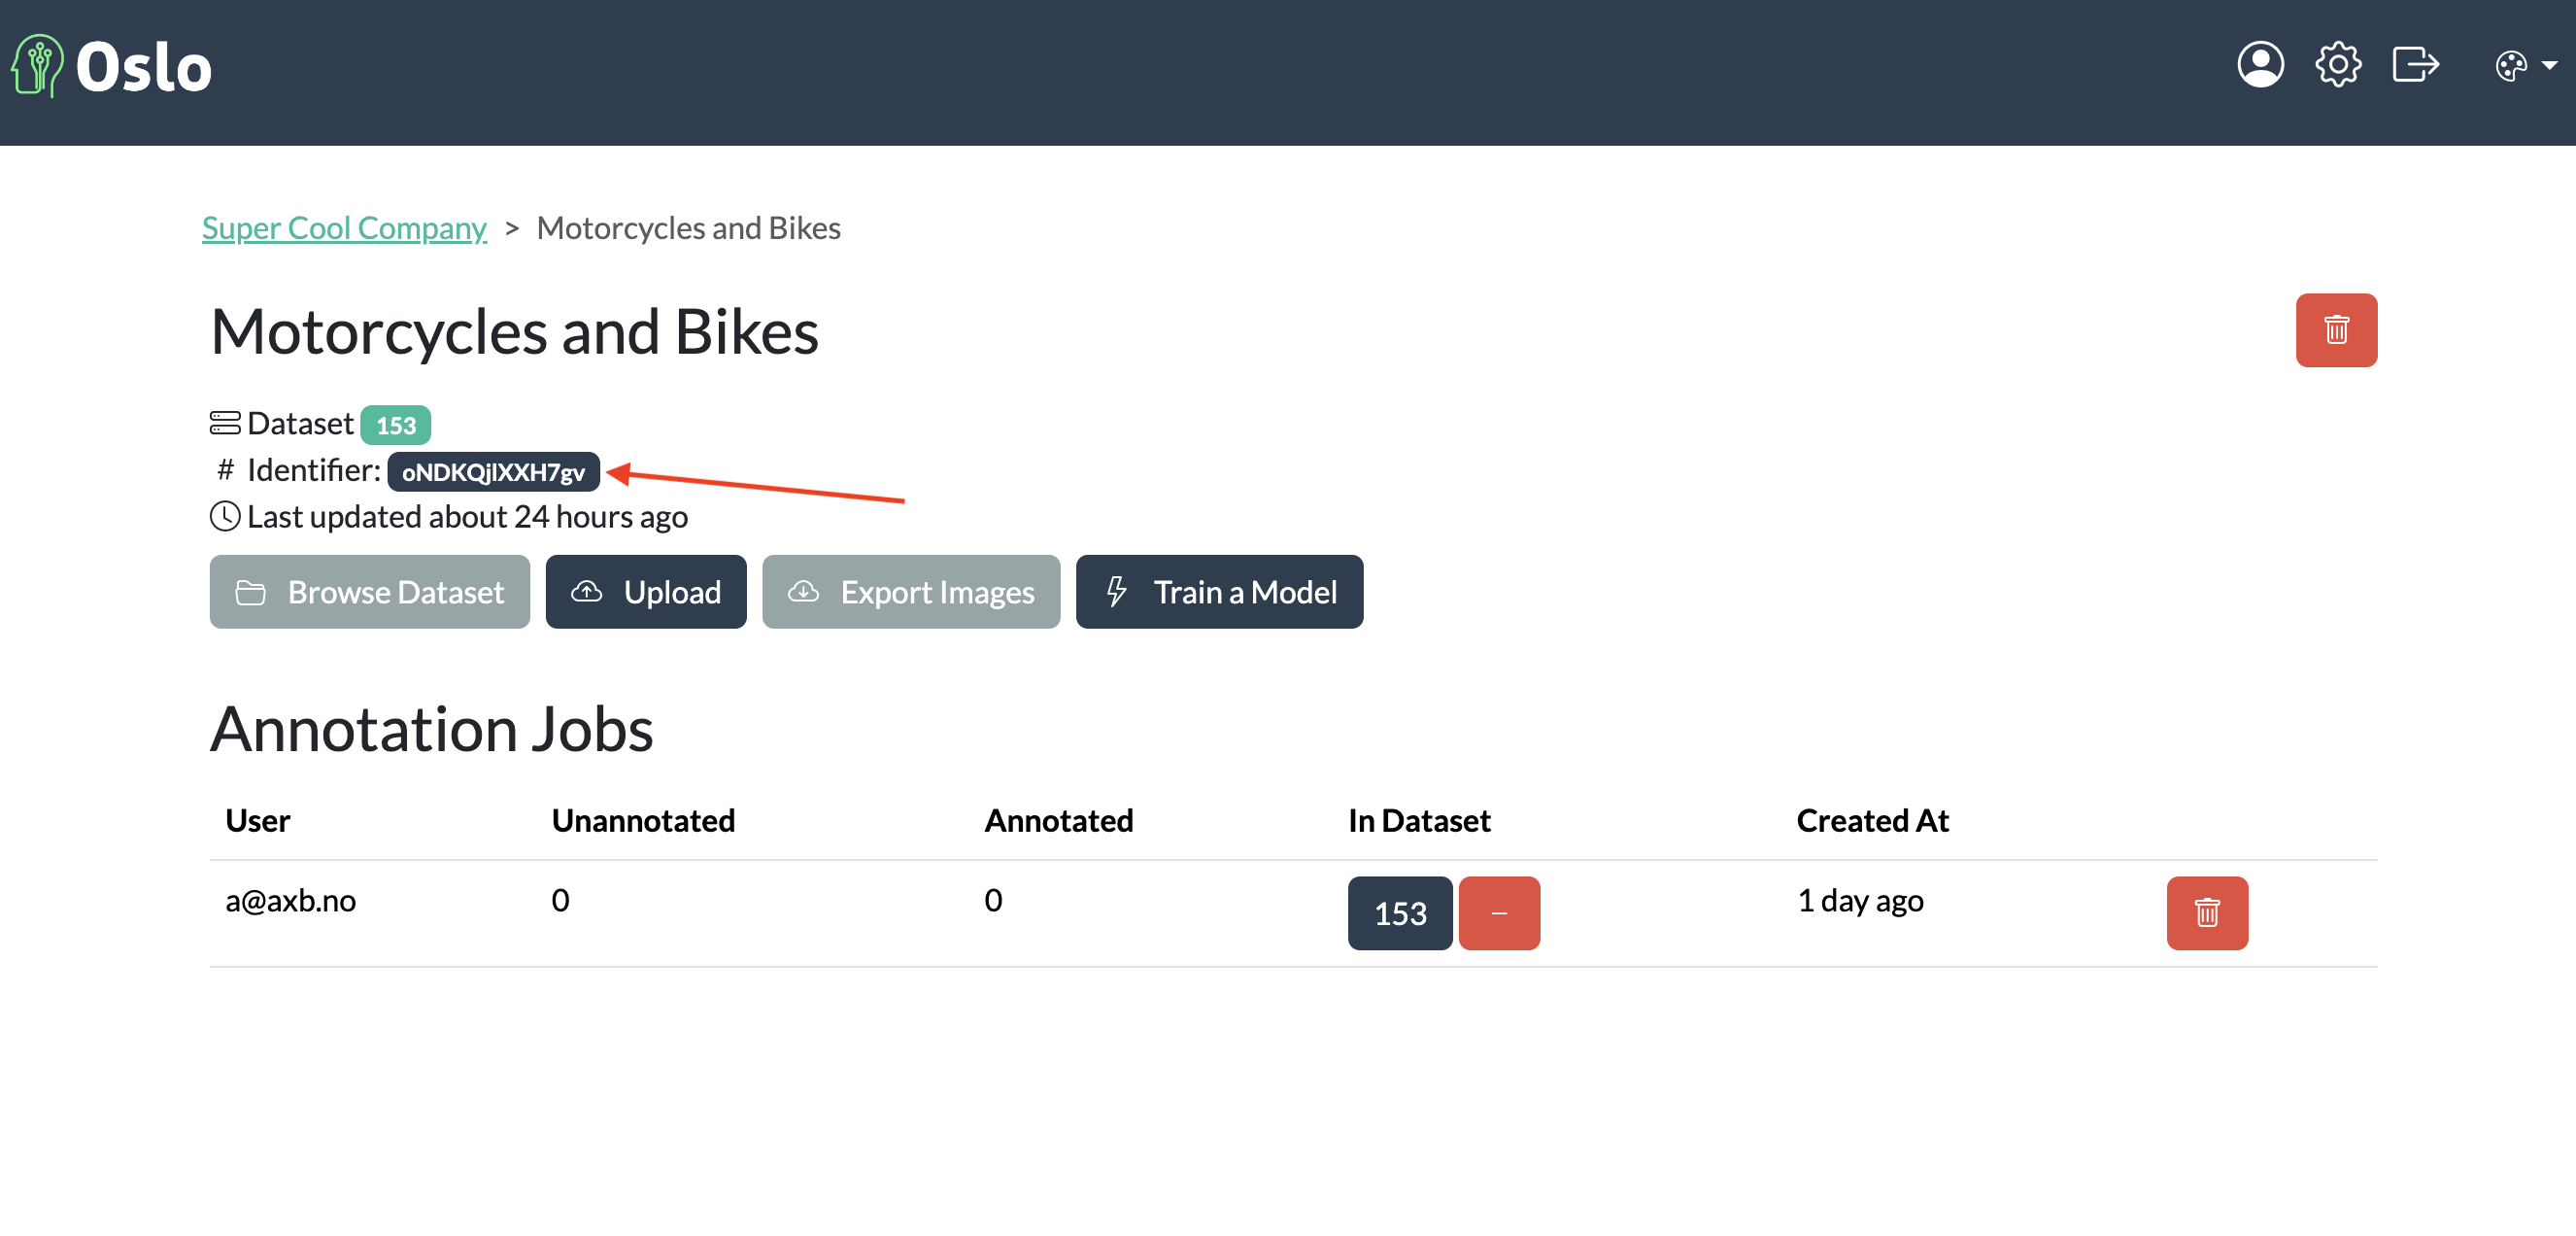
Project ID
If you prefer to train on your own hardware, you can download the training notebook and run it on your local machine, or alternatively you can export the annotated data and use it with your own training pipeline.
Work through the notebook step by step, and after training is complete, it is time to first evaluate the training.
Step 6: Evaluate the Training
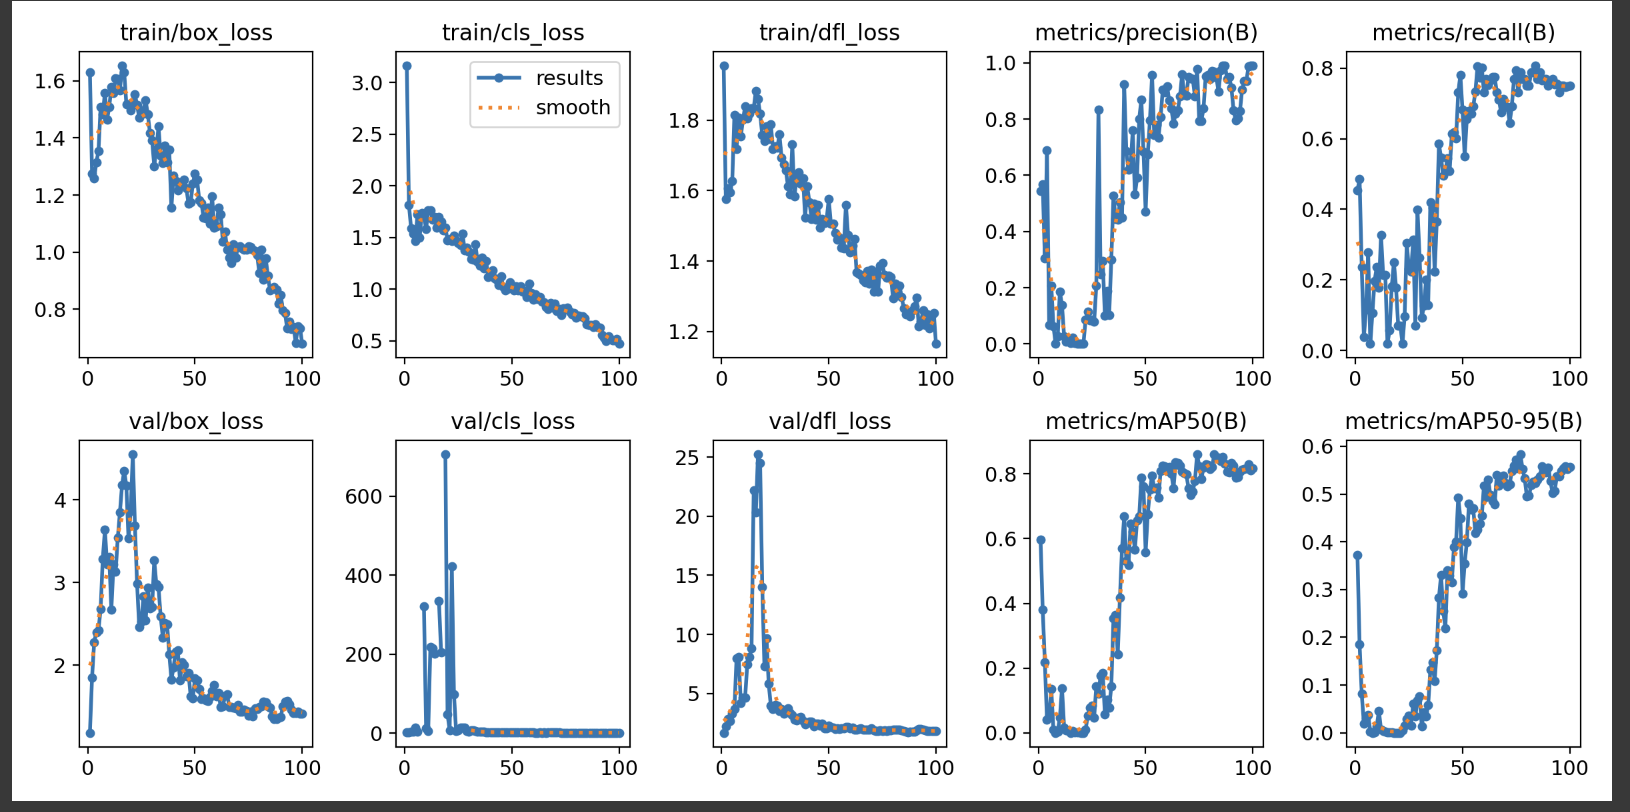
After training your model, the first step is to look at the training metrics. The confusion matrix is a good place to start. You can also look at the precision, recall, and F1 score of your model.
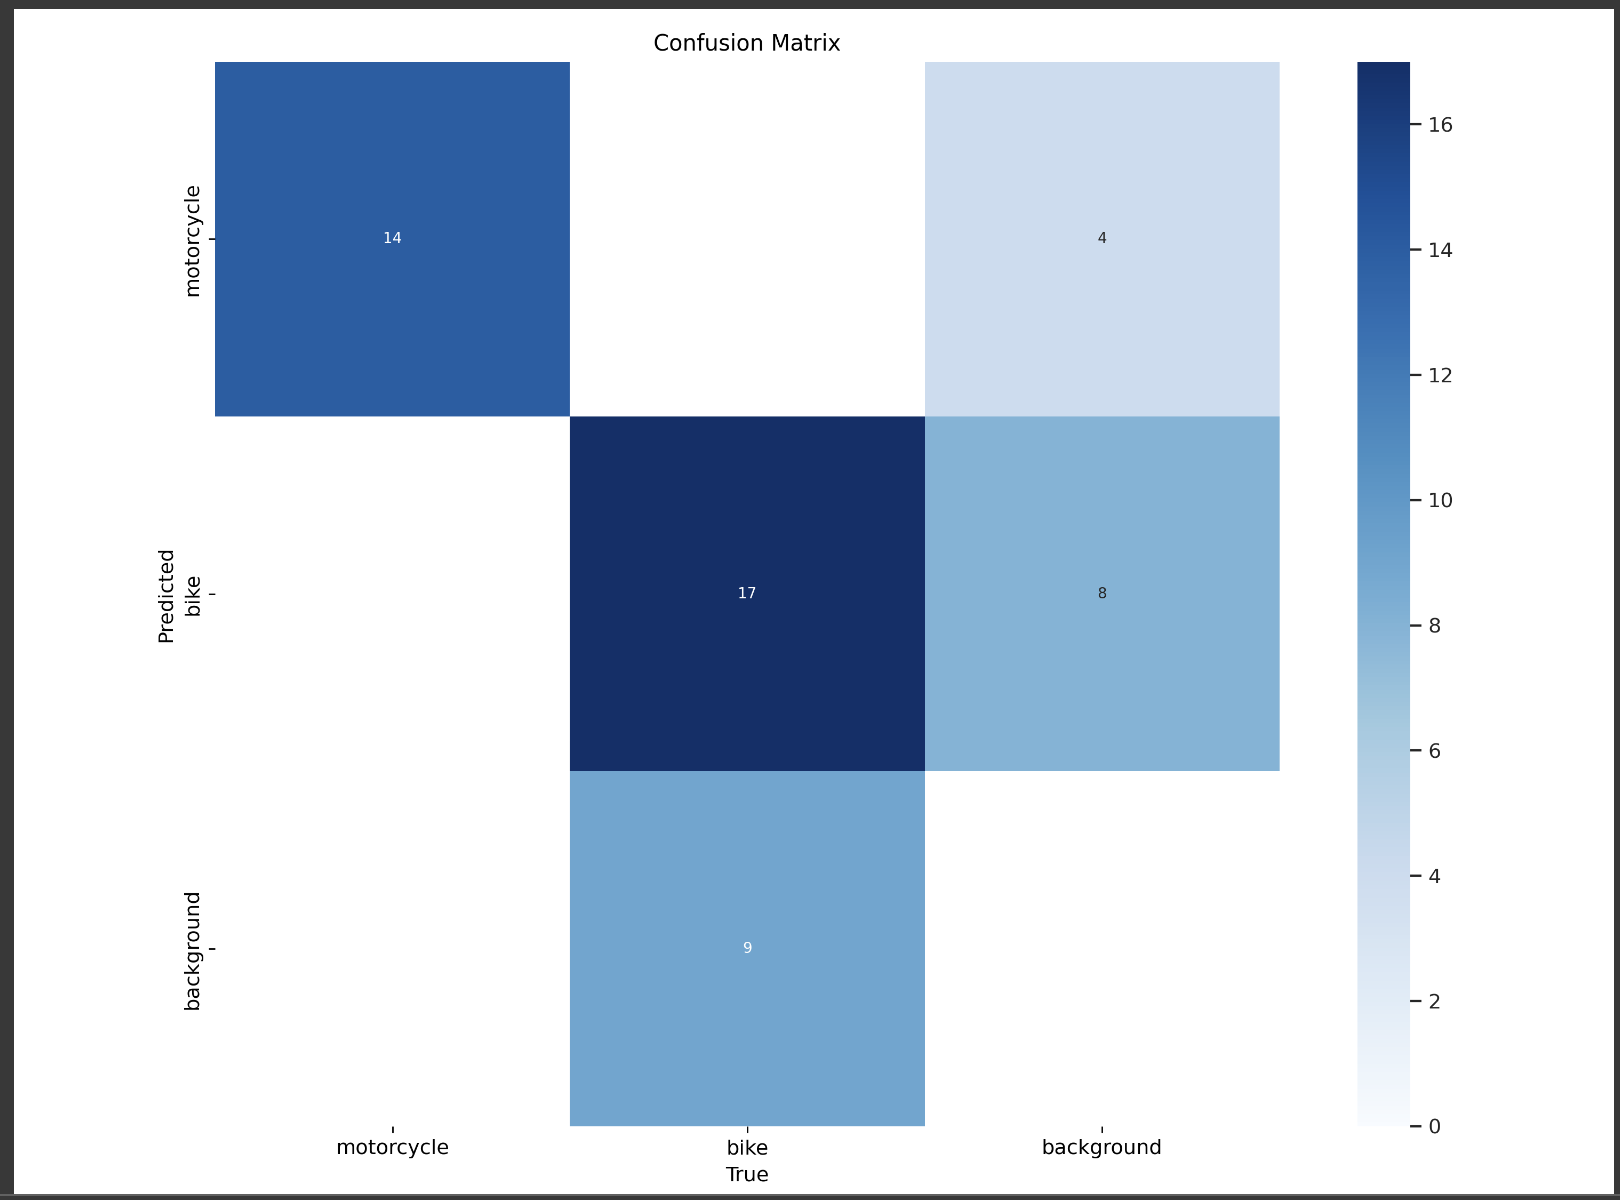
Confusion matrix

Precision, recall, and mAP score
One thing to note, is the recall of the bike class is comparitively lower than the motorcycle class. This could be due to the fact that there are fewer bike images in the dataset or the quality of the annotations is not as good as the motorcycle class.
In this case we are happy enough with the training metrics and we can proceed to the next step. But if you are not happy with the training metrics, you can go back to the annotation step and annotate more data, or you can try different models or hyperparameters.
Iteration is key to improving your model, so don’t be afraid to experiment with different models, hyperparameters, and data augmentation techniques.
Iteration is key
Step 7: Test Your Model
After evaluating the training metrics, the next step is to test your model on unseen data. In our example we will use the test images from our dataset to test our model. The test step we will complete in the google colab notebook.
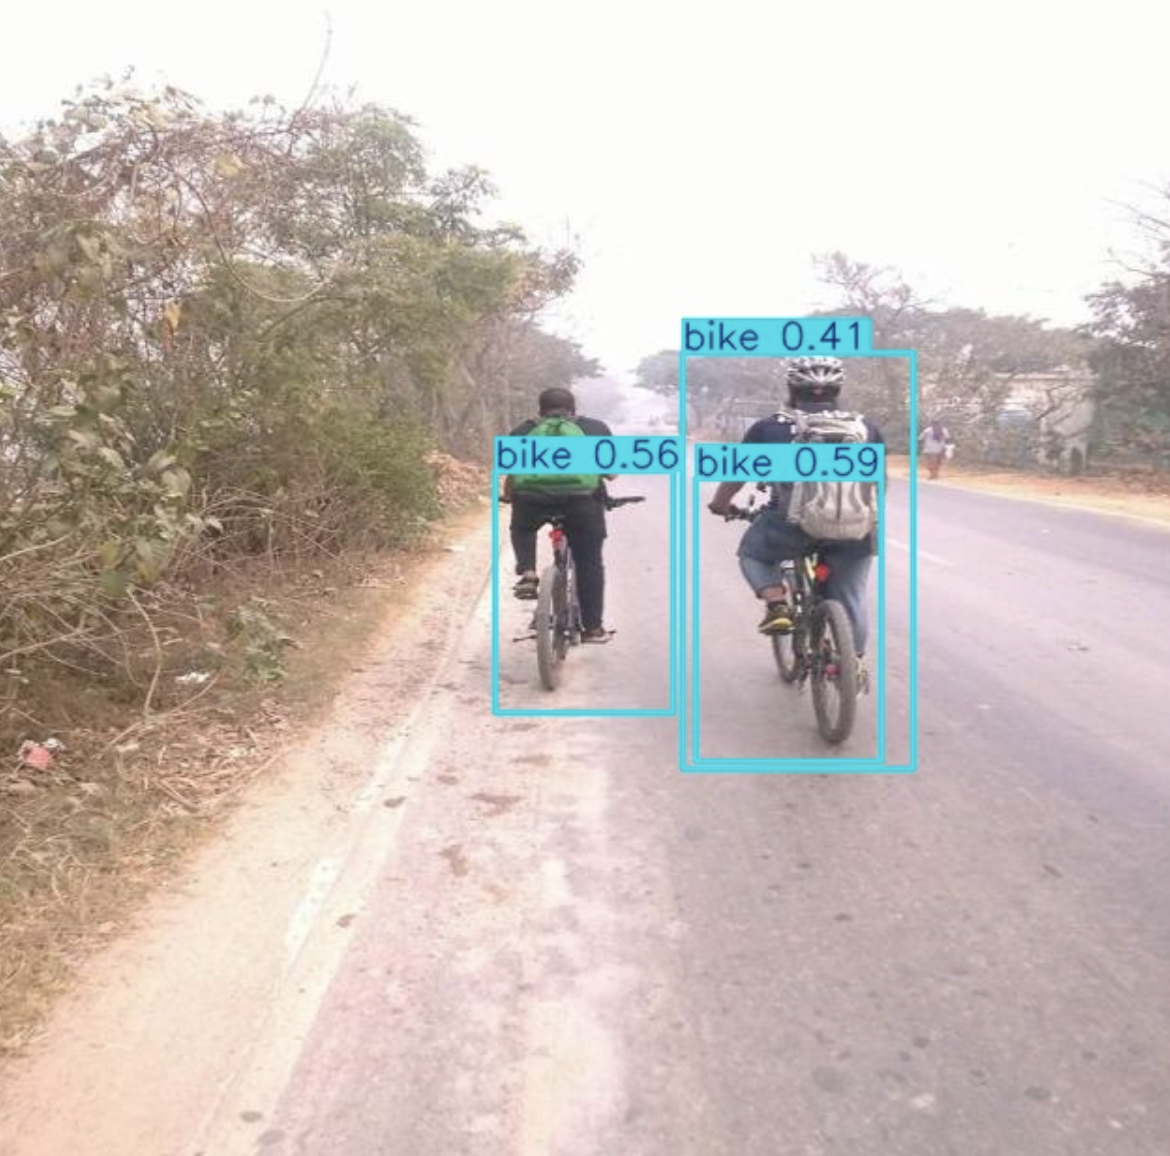
Again, we will look at the precision, recall, and mAP score of our model on the test data, along with sampling of annotated test images to see detection results. This can be an important step to see how well your model generalizes to unseen data.
In our case here, it looks like there is an issue with the quality of the annotations. The annotations of motorbikes include the rider, but the annotations of bicycles do not include the rider. This results in some false positives for motorbikes. This is a good example of how the quality of the annotations can affect the performance of the model. And how a good quality dataset is key to training a good model.
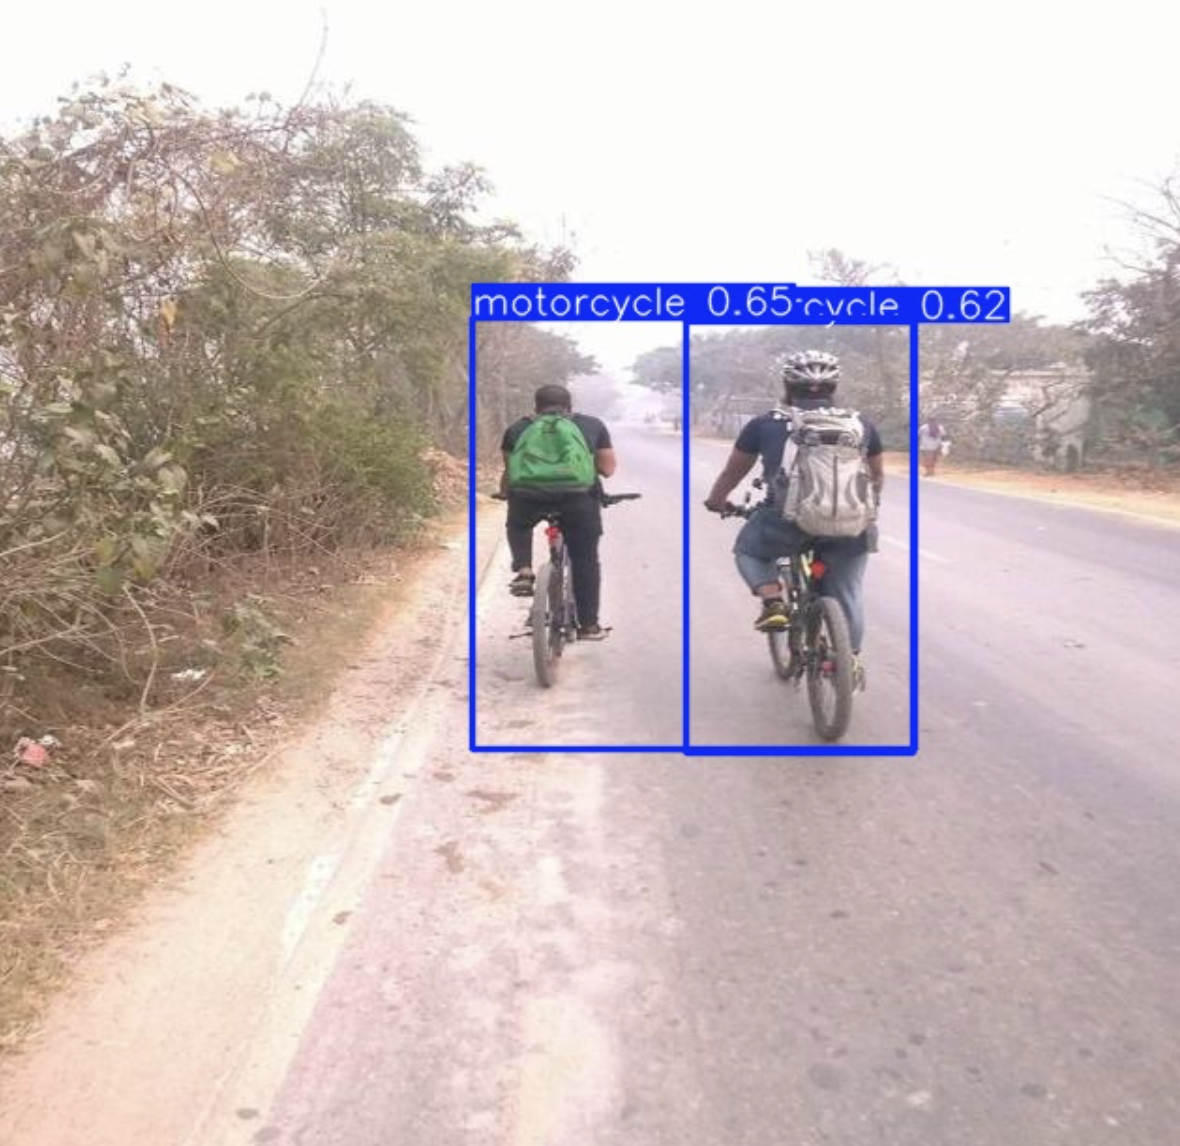
Incorrect detections
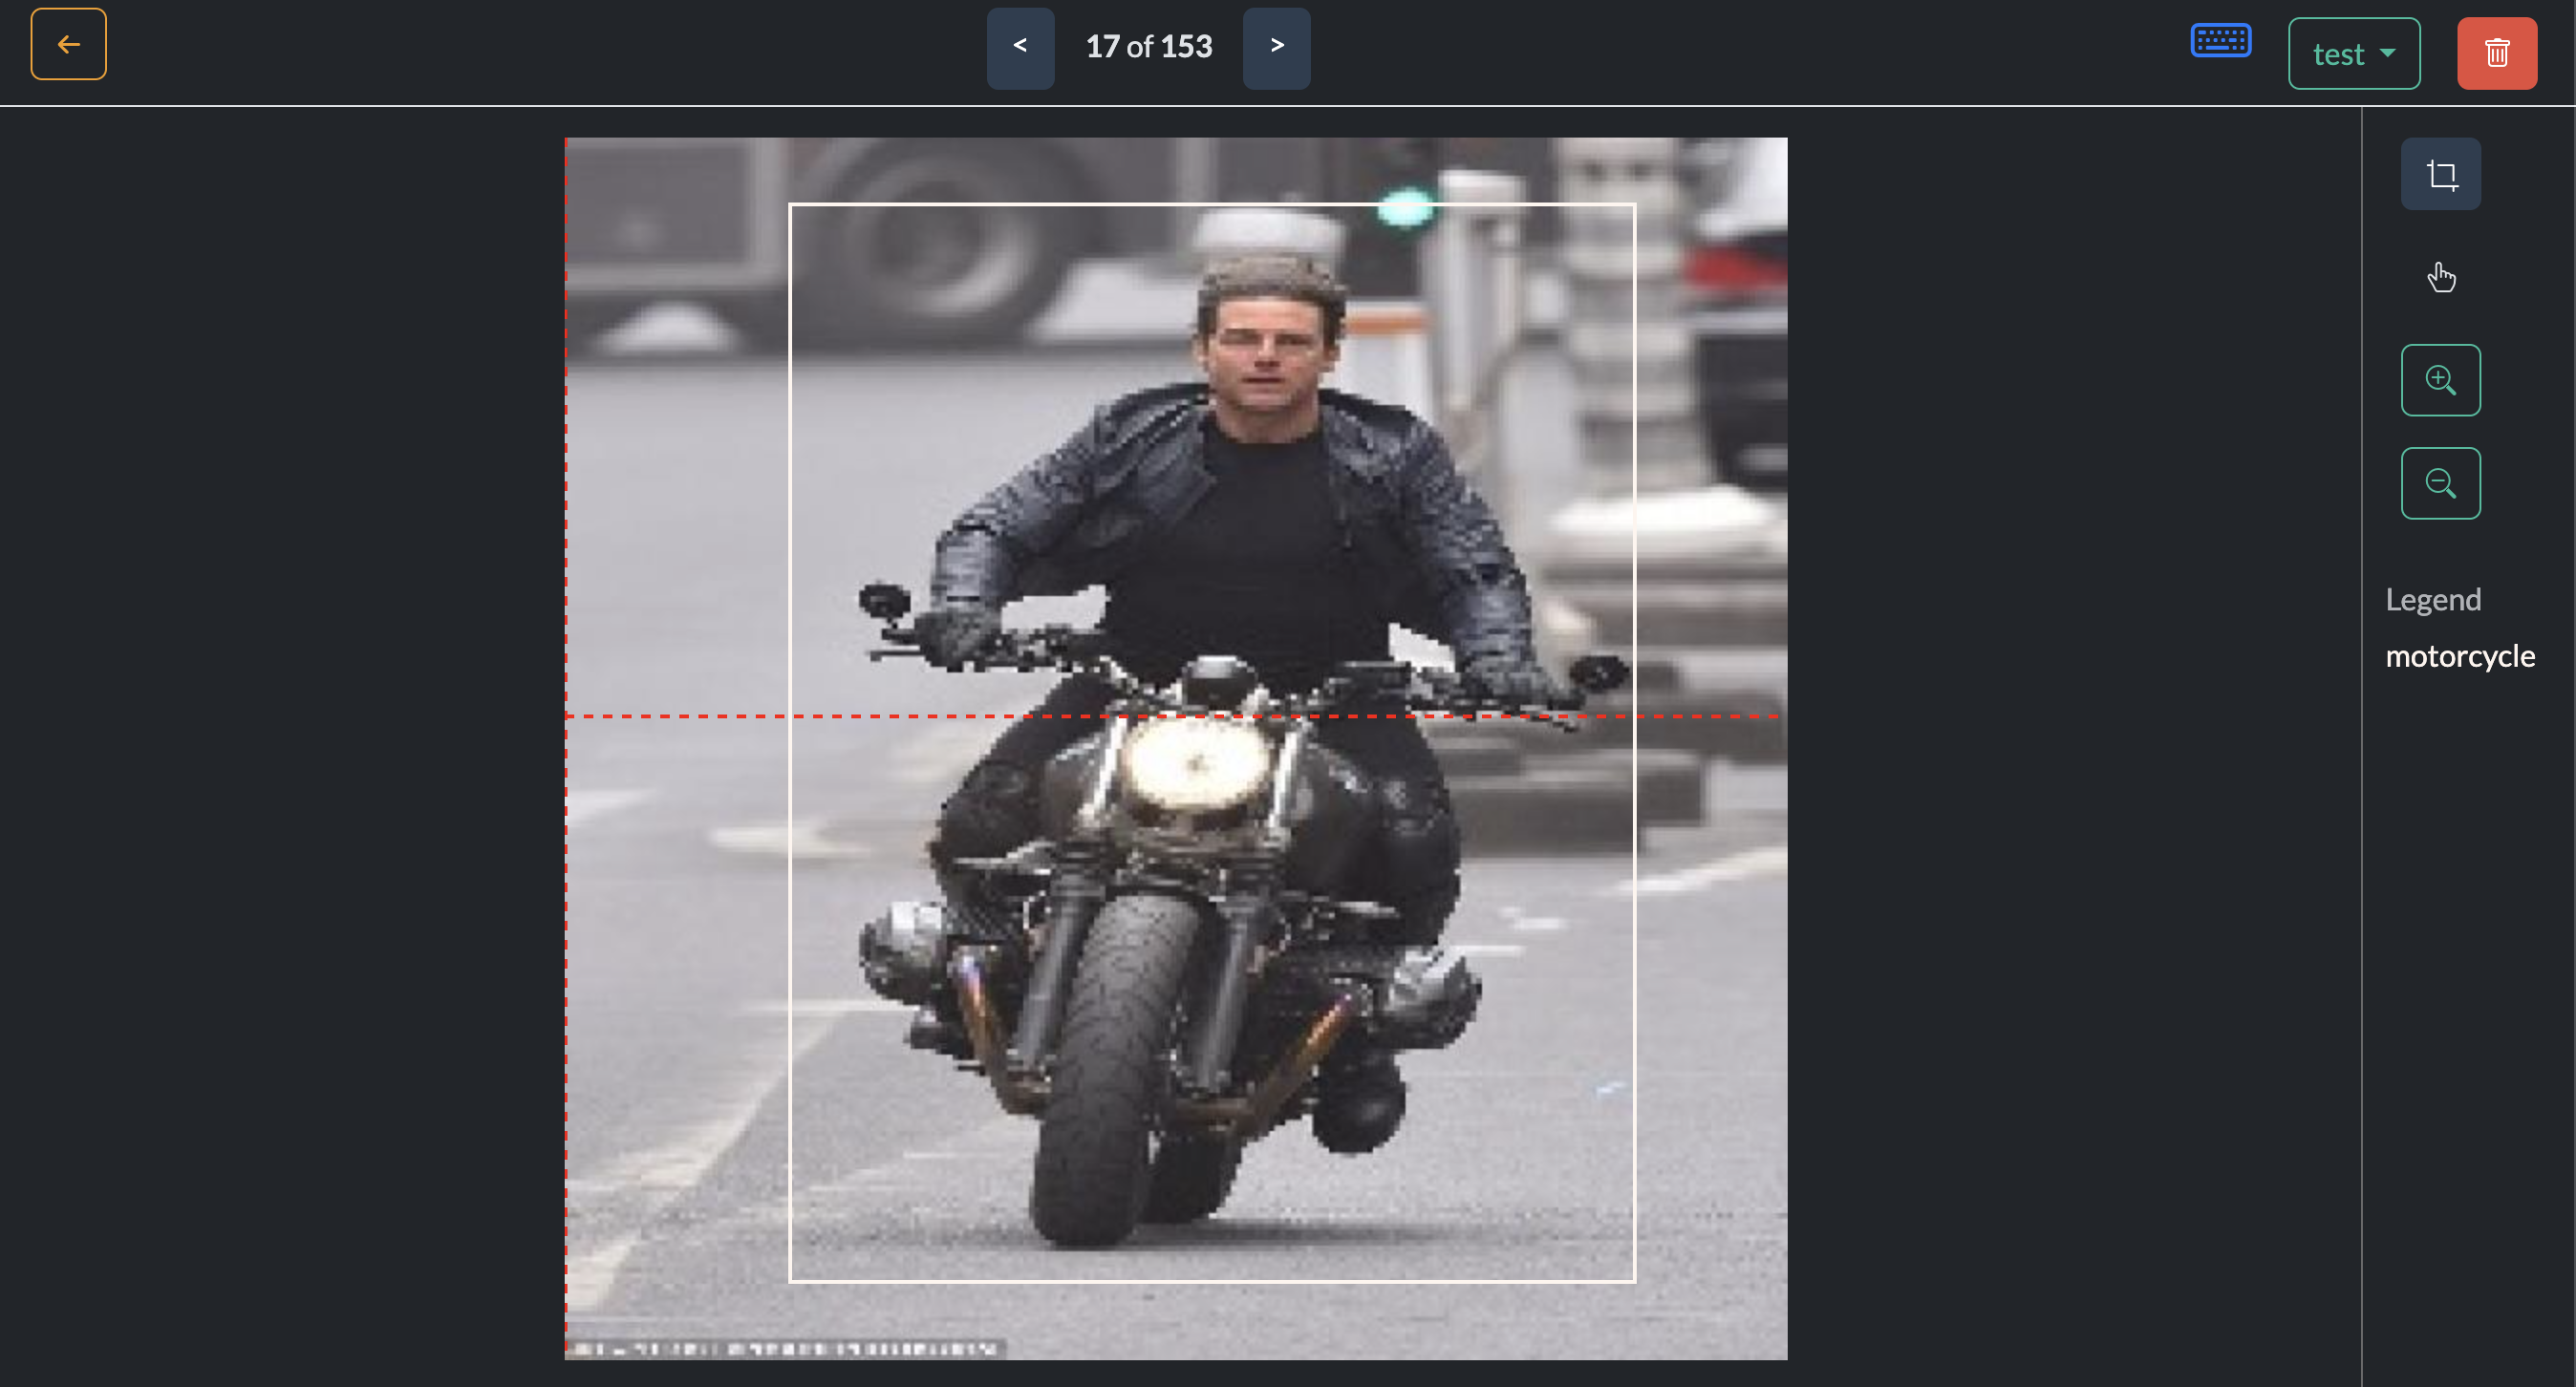
Inconsistent annotation
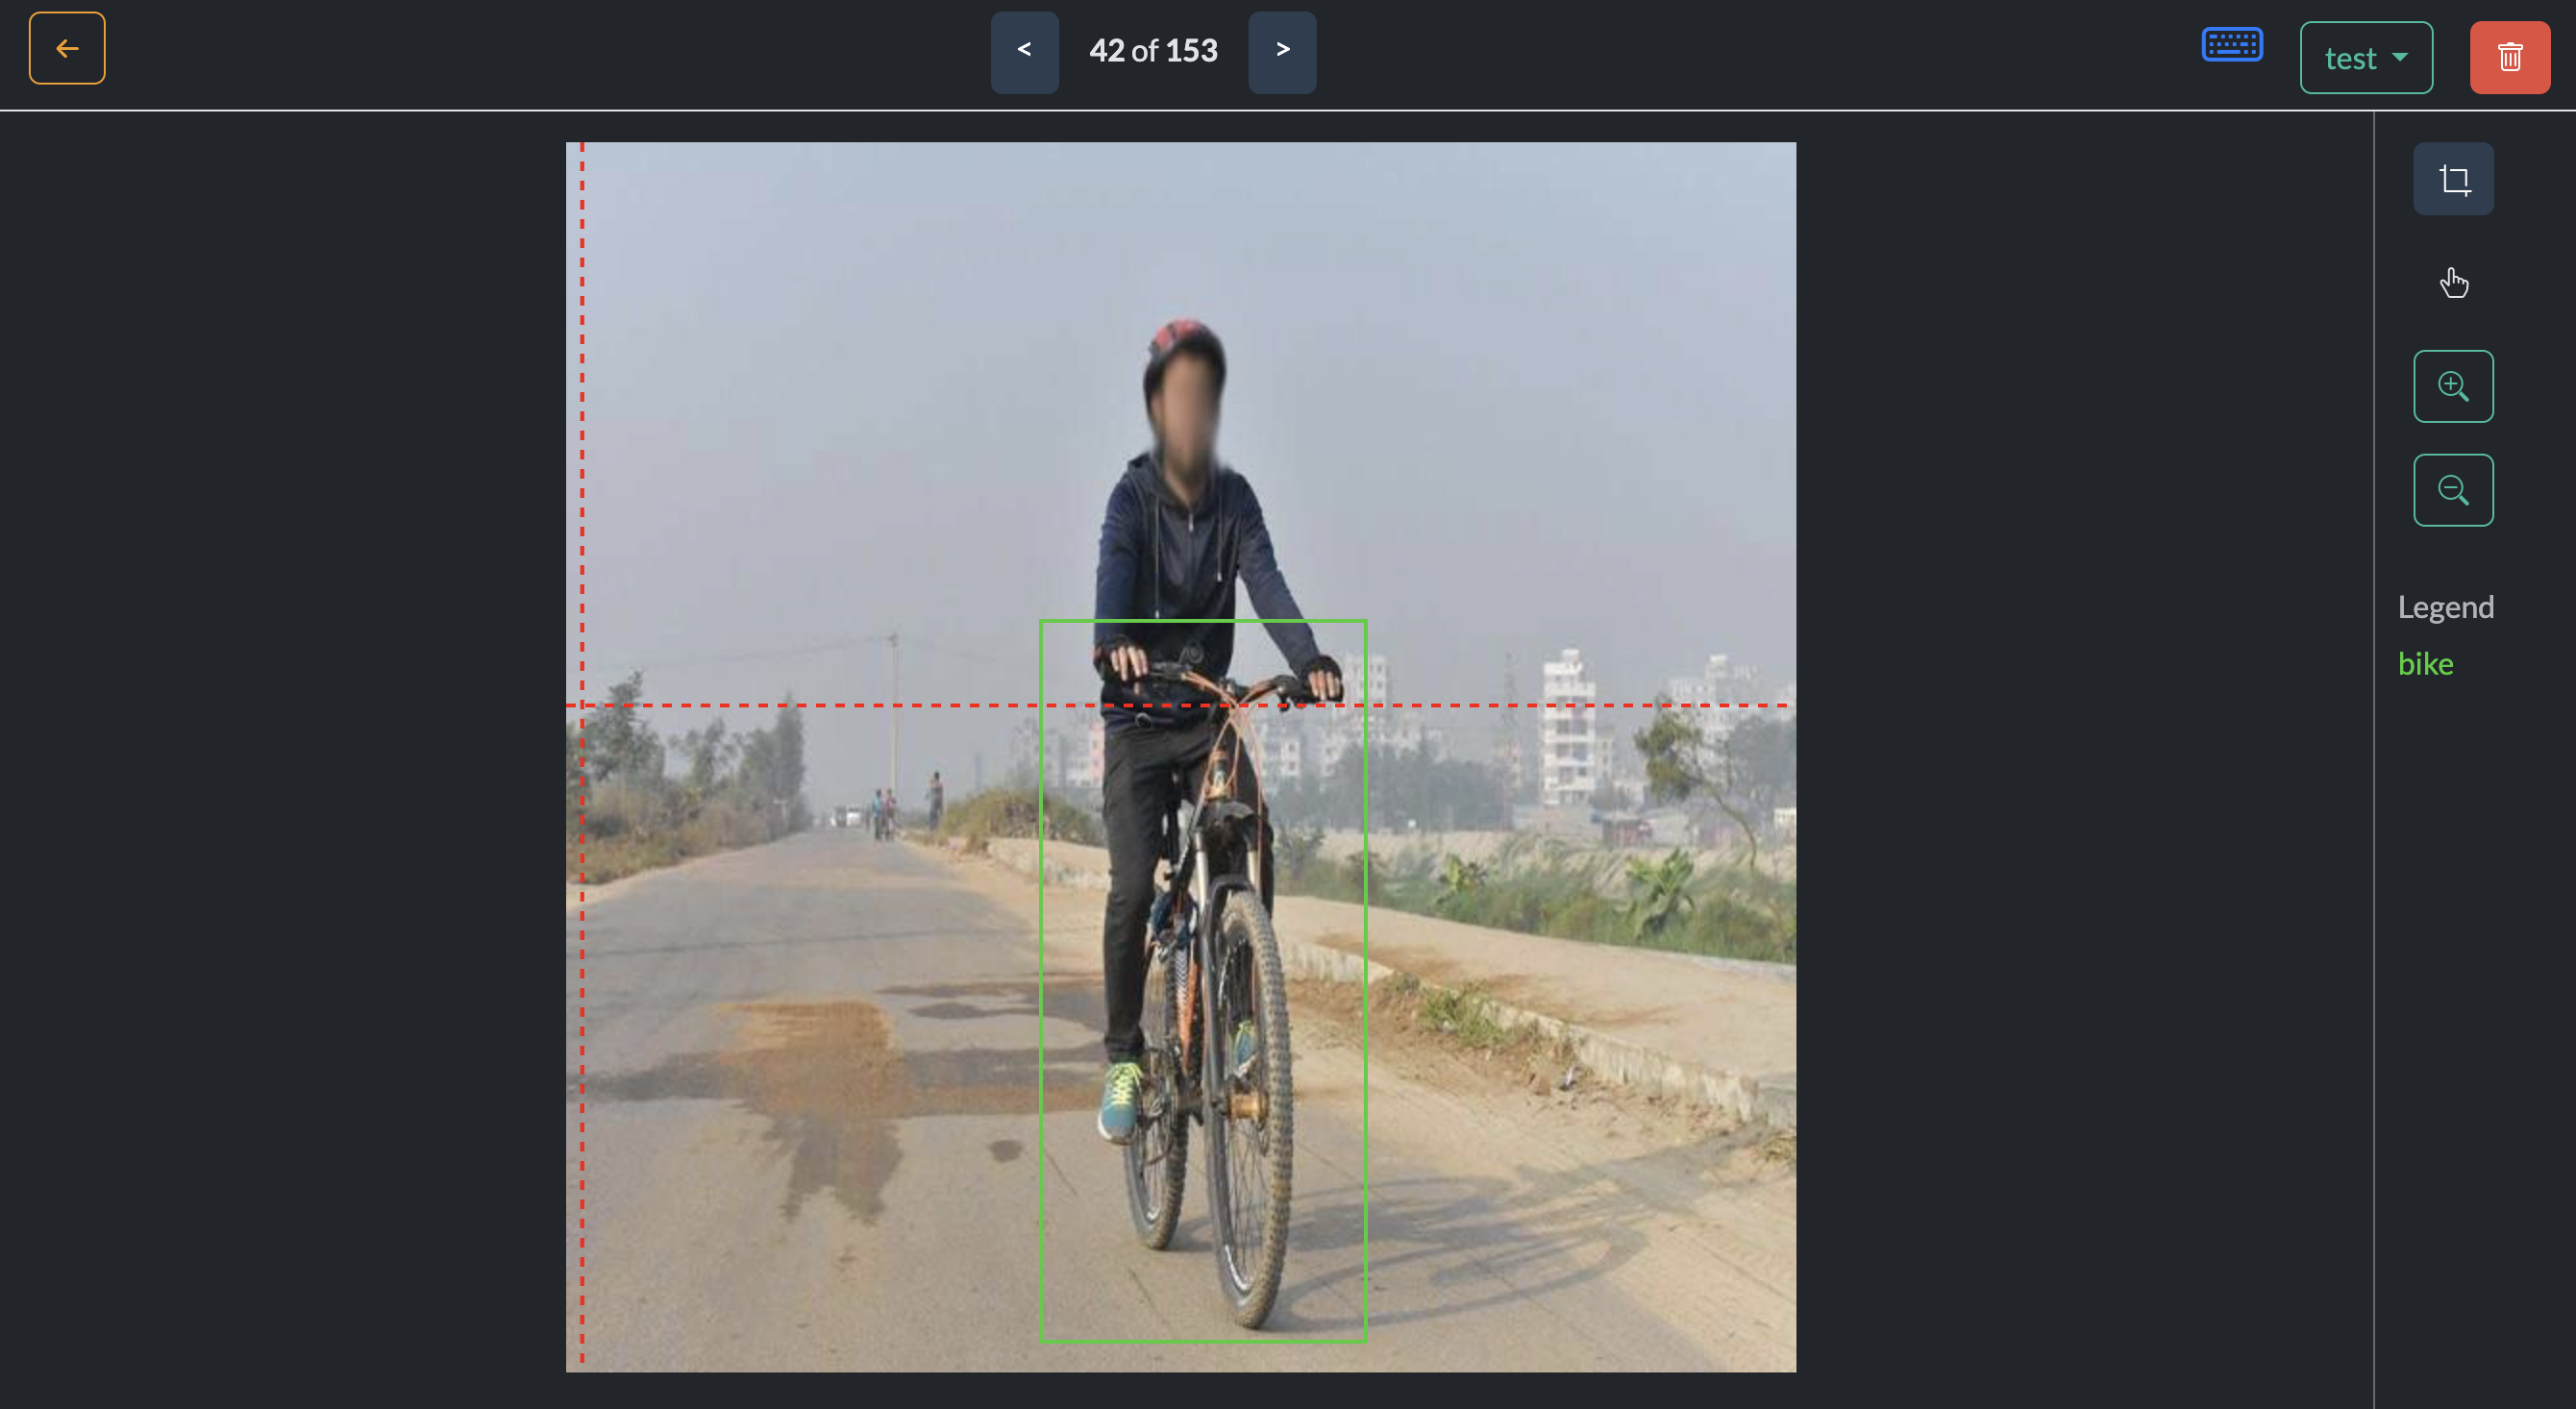
Inconsistent bike annotation
The above shows how bike and motorcycle annotations are inconsistent. One includes the rider and the other does not. This is a good example of how the quality of the annotations can affect the performance of the model.
Step 8: Fine-Tune Your Model
After changing the format of the motorcycle annotations to not include the rider, we retrain the model and test it again. The results are much better this time. The model is able to detect motorcycles and bicycles with much higher accuracy.
Correct detections (maybe need some NMS)
Step 9: Deploy Your Model
After the testing phase, the final step is to deploy your model. This is up to you how you want to deploy your model. You can deploy it on the cloud, on the edge, or on your local machine. Look out for our upcoming guide on how to deploy your model behind a REST API.
If you have trained with google colab, you can download the model weights and use them in your own production inference.
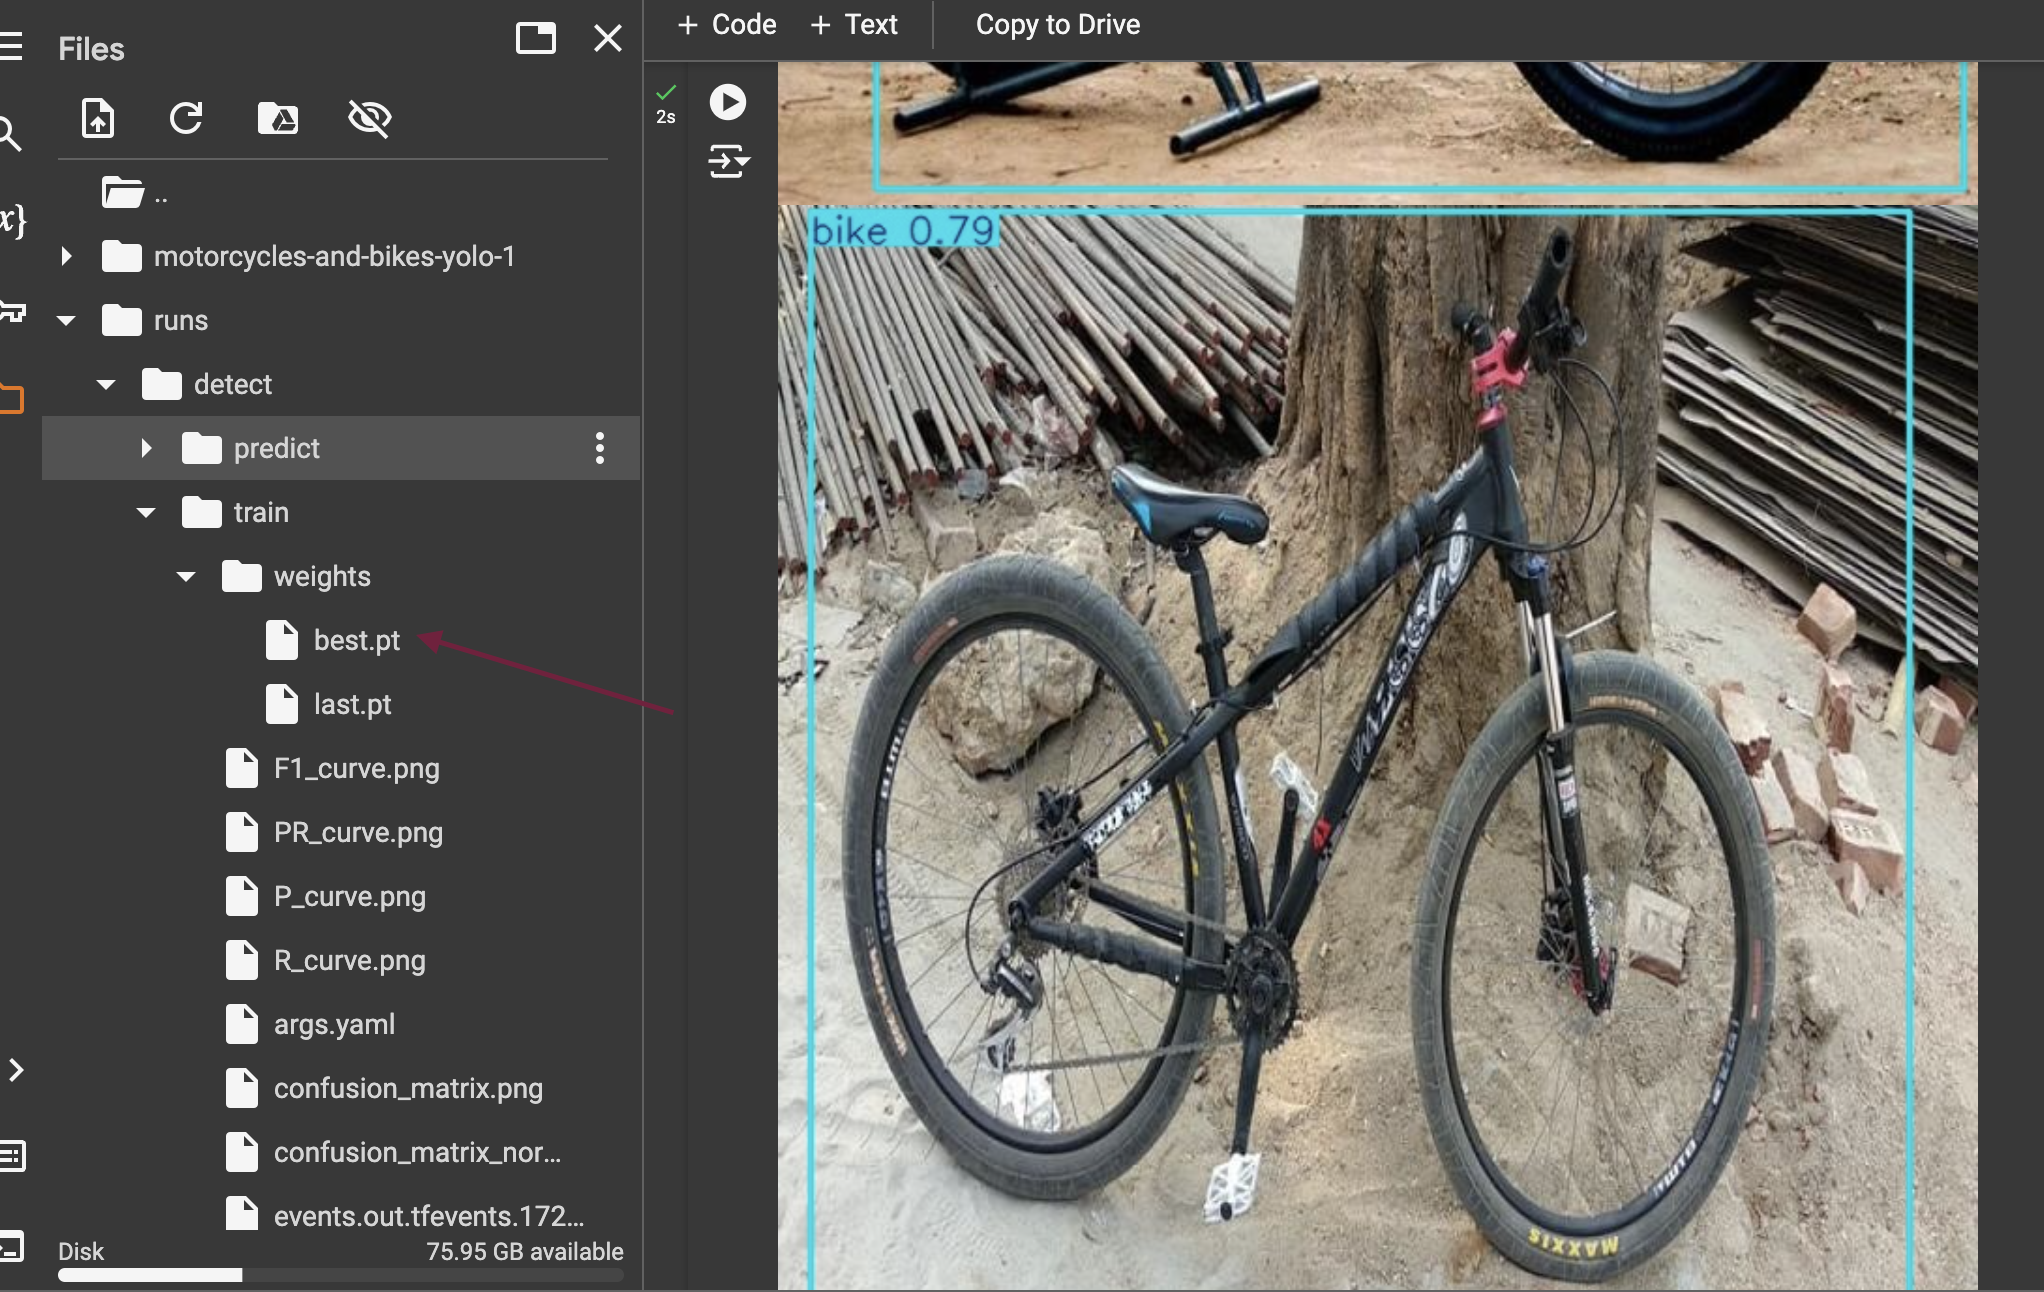
Download model weights
Conclusion
Congratulations! Thanks for staying until the end. We have successfully imported images, annotated a dataset, exported and trained an object detection model. We investigated training metrics and subsequently improved the dataset and then the model. We hope this guide has been helpful in getting you started with Oslo. If you have any questions or need further assistance, feel free to reach out to our support team. Happy annotating and training!