Raspberry Pi AI Build
Published on
Can a Raspberry Pi Really Run AI? Let’s Build One!
Are you curious about the capabilities of a Raspberry Pi when it comes to Artificial Intelligence (AI)? In this blog post, we’ll guide you through transforming a Raspberry Pi into a powerful AI workhorse. Get ready to dive into the exciting world of AI on a compact device!
What You’ll Need
Before we start, let’s gather the necessary components for this project:
- Raspberry Pi 5 (the latest model)
- AI Hat (version 13 tops)
- MicroSD Card
- Power Supply
- Cooling System (active cooler)
- Case for Raspberry Pi
- HDMI Cables (for display, if needed)
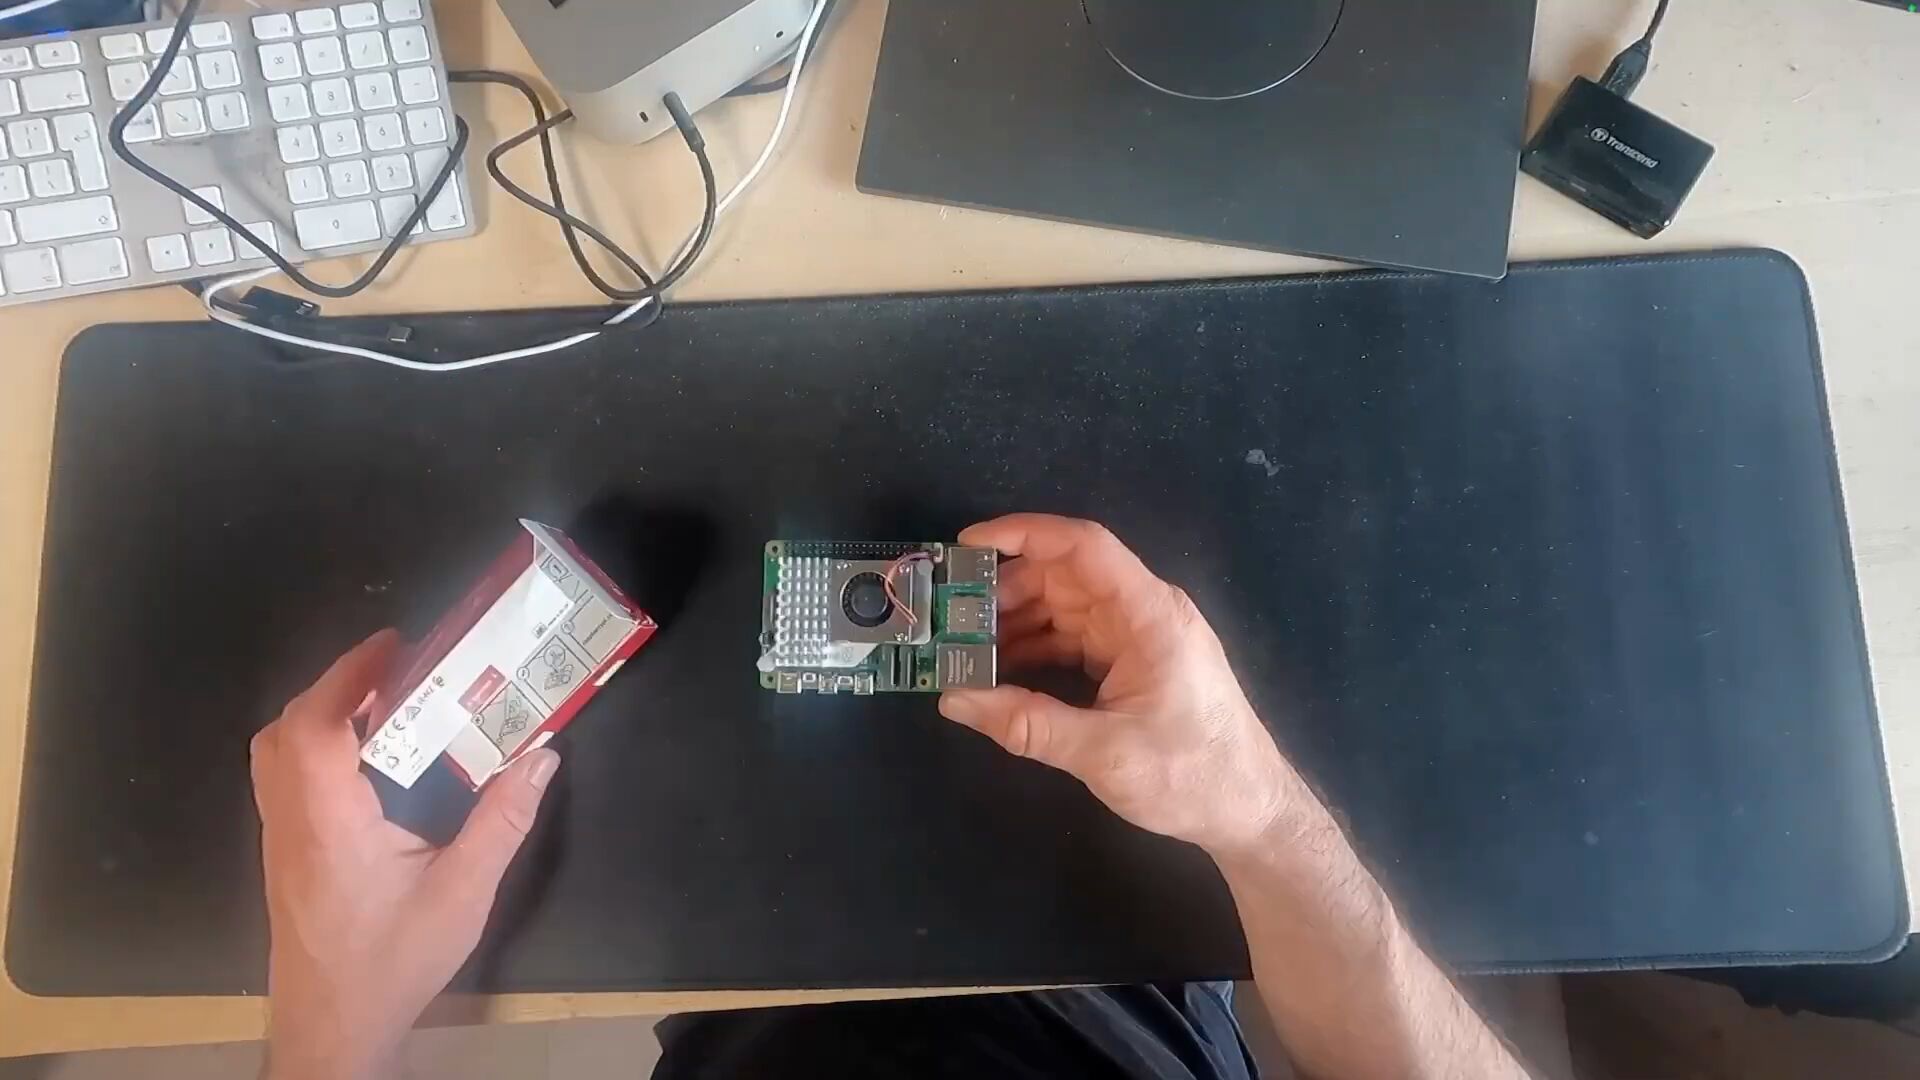
Unboxing the Raspberry Pi 5
Let’s kick things off by unboxing the Raspberry Pi 5.
- Open the Red Box: Inside, you’ll find the Raspberry Pi 5, which boasts:
- A new layout compared to Raspberry Pi 4
- MicroSD port
- Gigabit Ethernet
- Dual HDMI outputs
- PCIe ports
- GPIO header
- Power supply port
- Camera ports
Note: The Raspberry Pi 5 does not include an on-board H.264 hardware encoder.
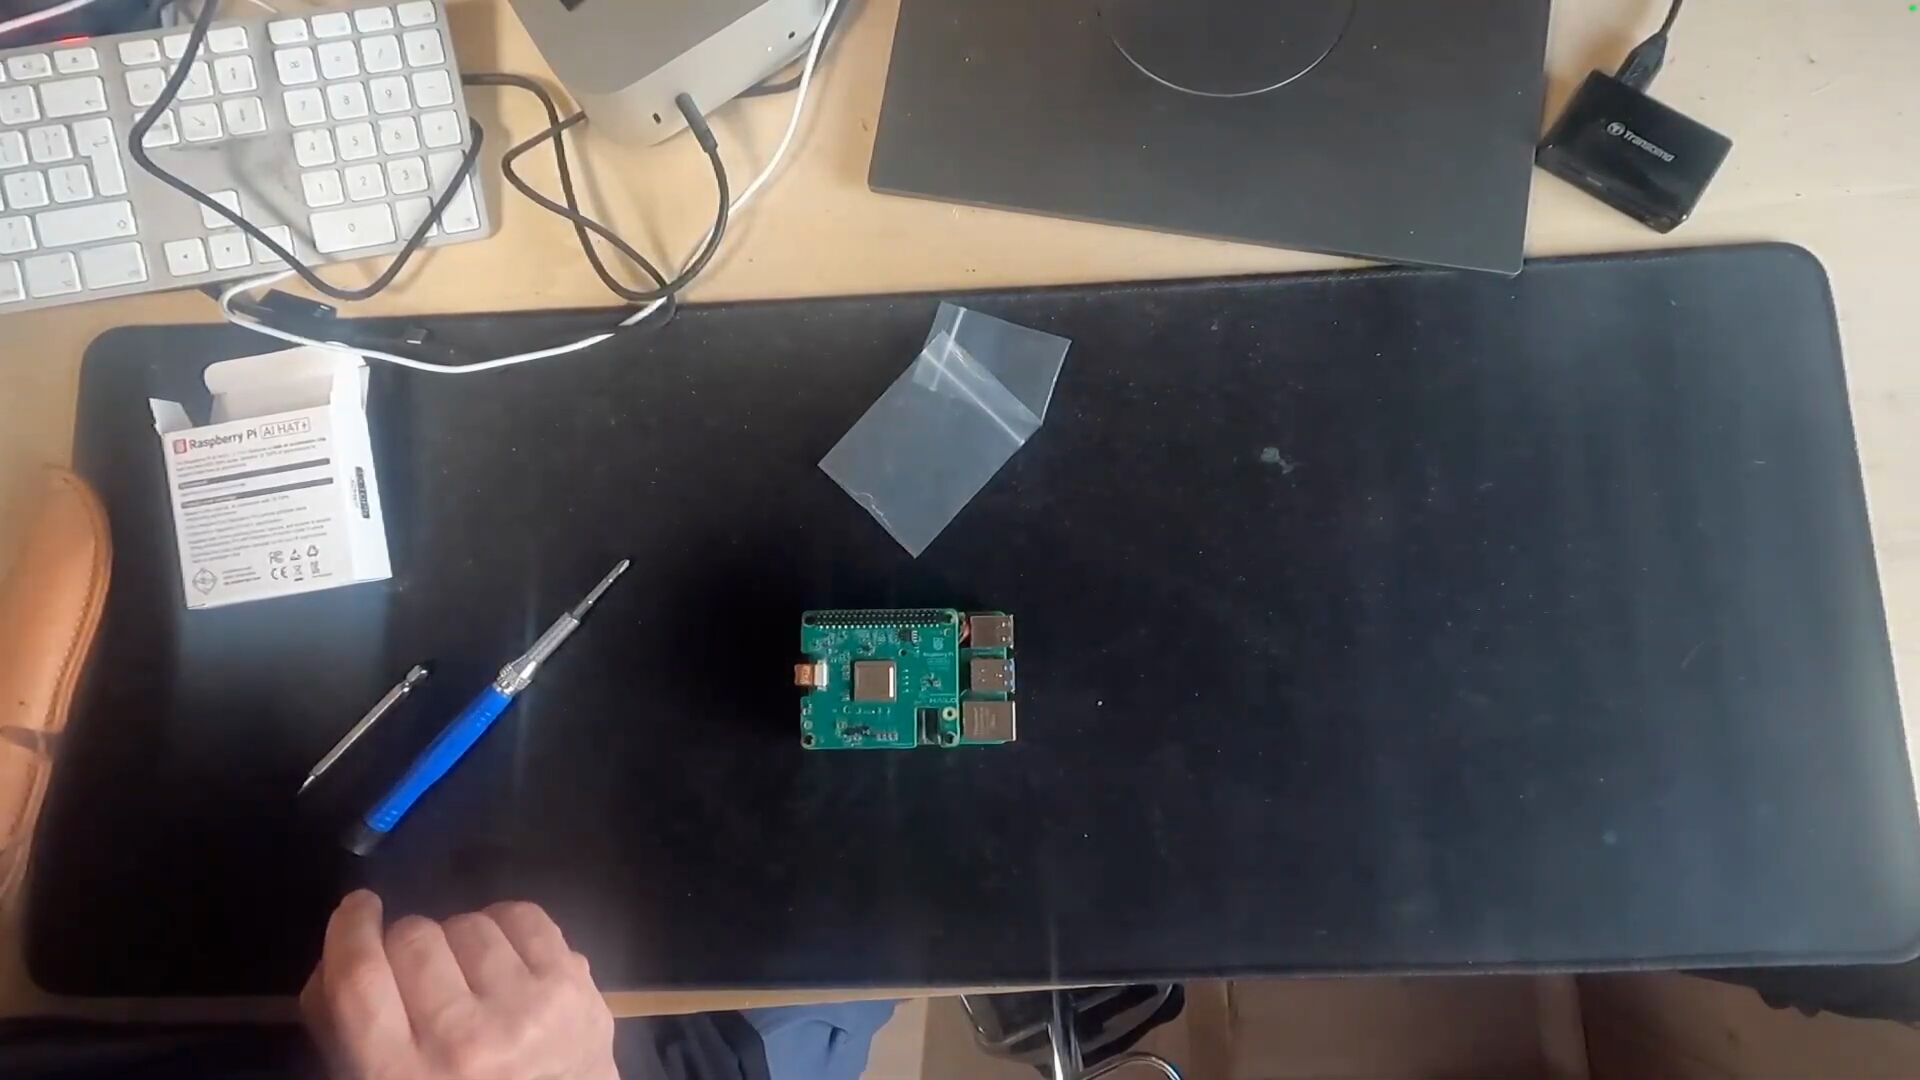
Installing the AI Hat
Now it’s time to enhance our Raspberry Pi’s capabilities with the AI Hat.
- Active Cooler Installation: First, install the active cooler.
- Prepare the AI Hat: The AI Hat comes with GPIO header extensions.
- Install the AI Hat:
- Attach the GPIO riser extensions.
- Use the longer screws to secure the risers.
- Place the AI Hat on top and secure it with the shorter screws.
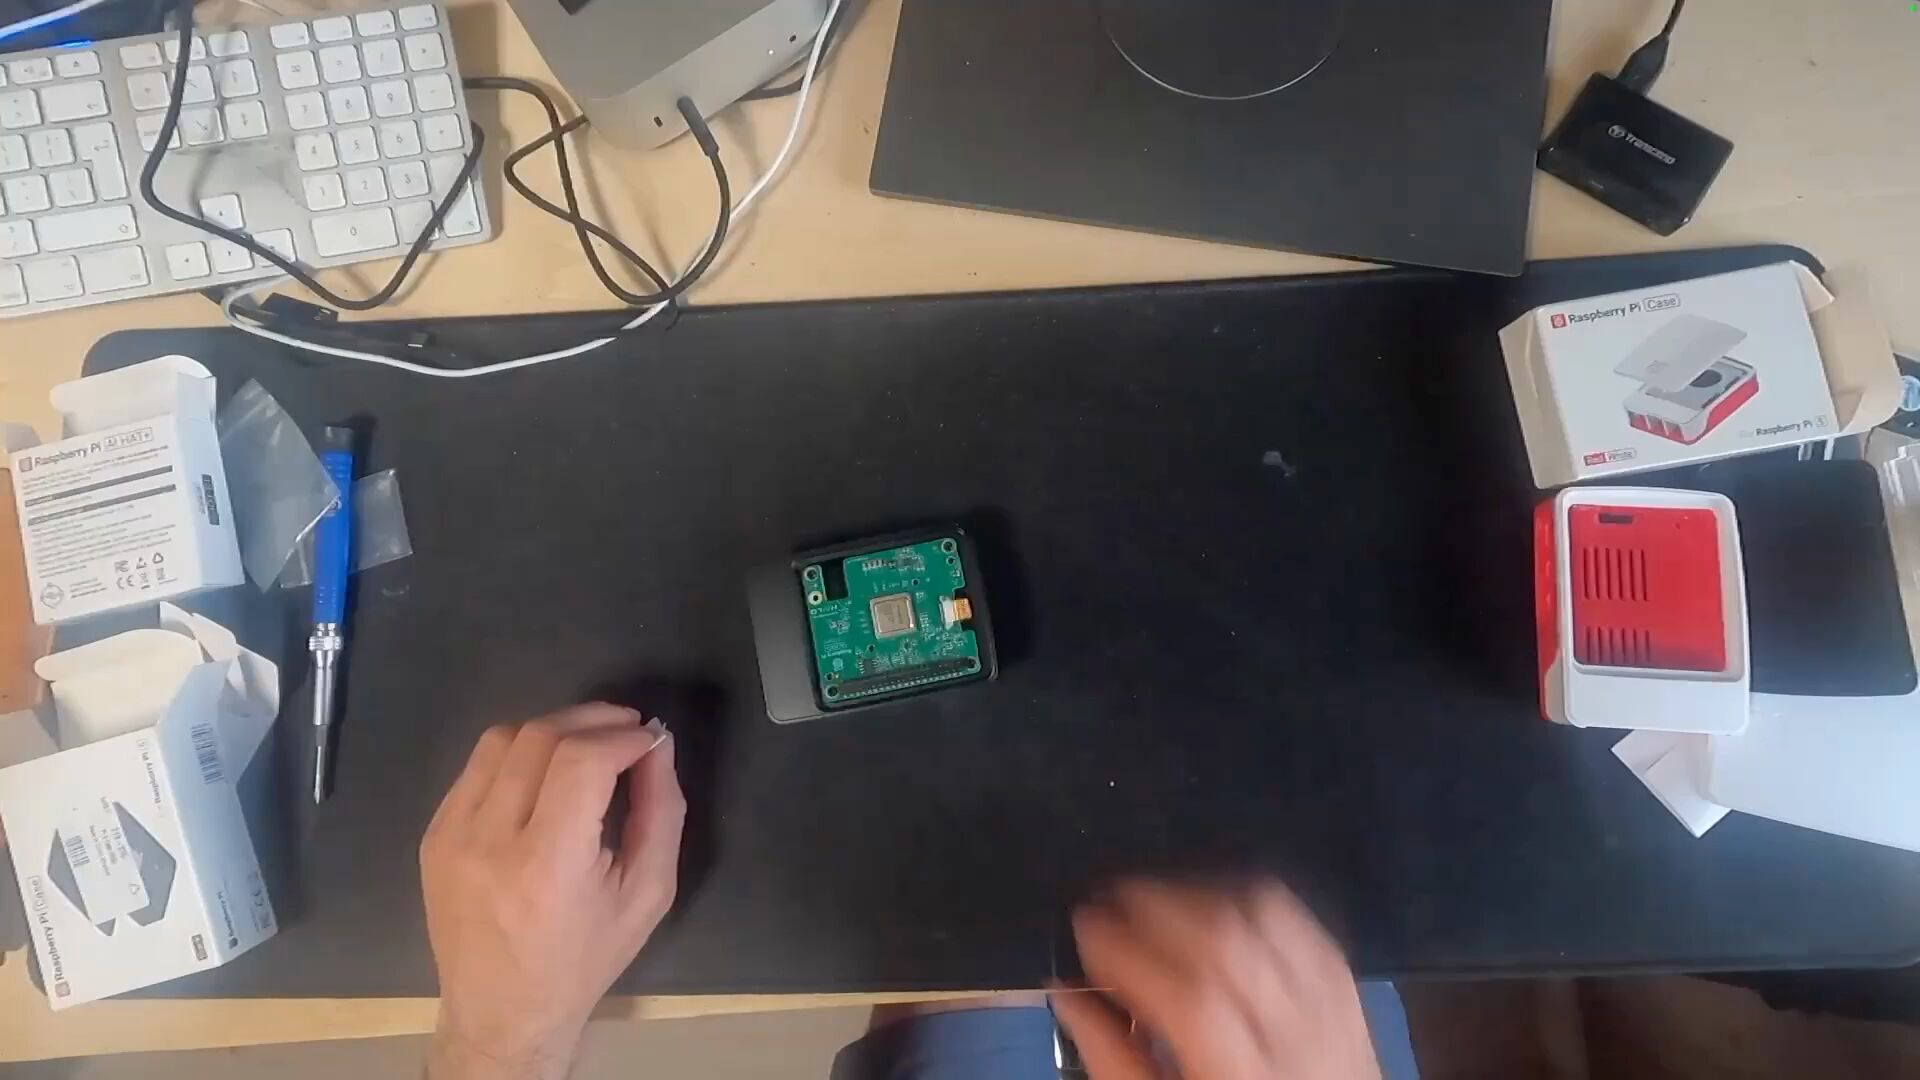
One Case to Rule Them All
Next, let’s open up the case:
- The case comes equipped with a fan, but we won’t be using it since we have the active cooler installed.
- You’ll find rubber pads and a heat sink inside, use the rubber pads but only the heat sink if you aren’t using an active cooler.
Tip: Ensure you screw everything in correctly; if you make a mistake, you might have to unscrew and redo it!
Software Installation
With the hardware set up, let’s move on to the software installation.
- Download the Raspberry Pi Imager: Go to raspberrypi.com/software and download the appropriate imager for your system.
- Burn the MicroSD Card:
- Choose the Raspberry Pi 5 and install the OS.
- Opt for “OS Lite” if you prefer a headless setup.
- Set up your SSH username and password.
- SSH into Your Raspberry Pi: After burning the card and booting up your Pi, SSH into it to update the system:
sudo apt update && sudo apt upgrade
Installing the Hailo Software
To utilize AI capabilities, install the Hailo software:
Install Halo:
sudo apt install hailo-allThis may take some time, so be patient!
REBOOT
Verify Installation: Run the command to ensure it’s working:
hailortcli fw-control identifyClone Examples: Create a projects directory and clone the Hailo Raspberry Pi examples.
mkdir -p ~/projects
cd ~/projects
git clone https://github.com/OsloVision/hailo-rpi5-examples.git
cd hailo-rpi5-examples
./install.sh
Troubleshooting Dependencies
You might encounter issues with missing dependencies like Meson and Ninja. To resolve this:
- Install them manually in the virtual environment.
source ~/projects/hailo-rpi5-examples/setup_env.sh
pip install meson ninja
Running Your First AI Model
Once everything is set up, it’s time to test the AI features!
cd ~/projects/hailo-rpi5-examples
source setup_env.sh
python basic_pipelines/detection_simple.py
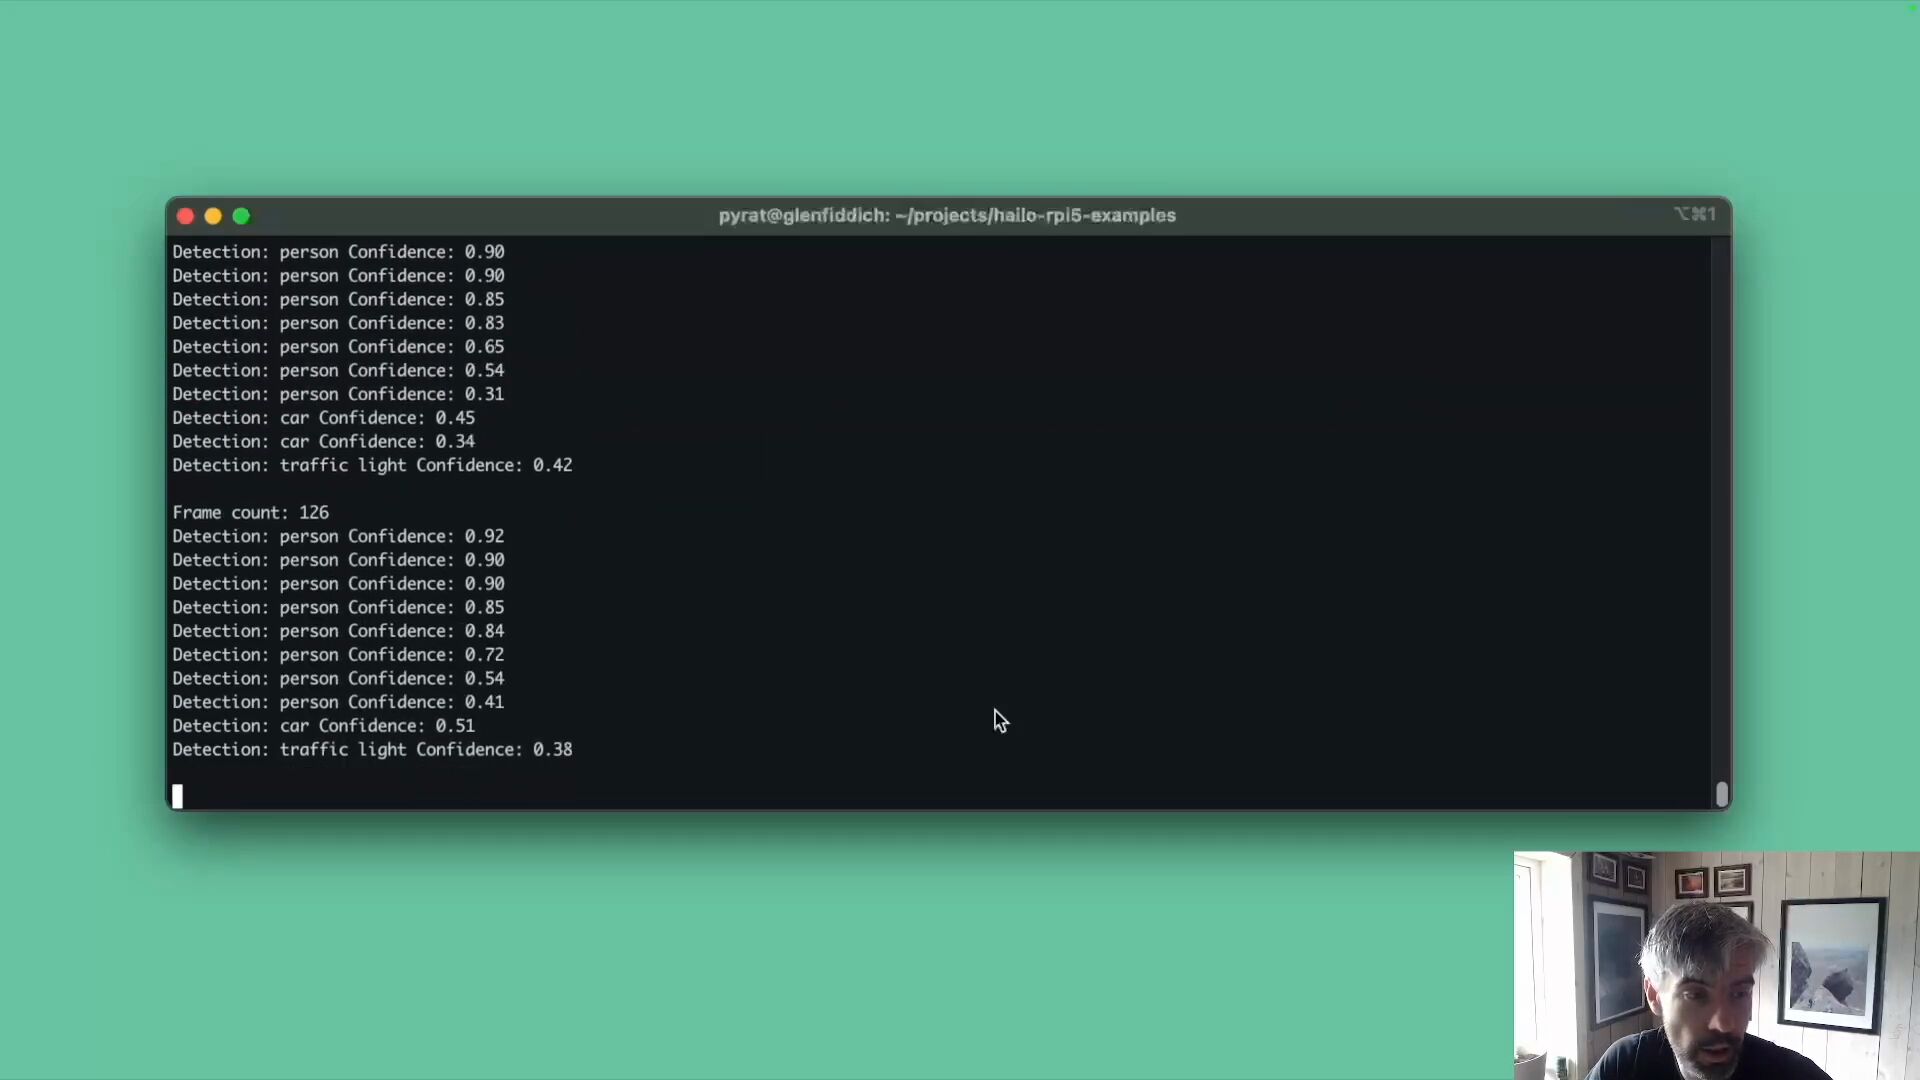
And here is a figure showing the output from the model:
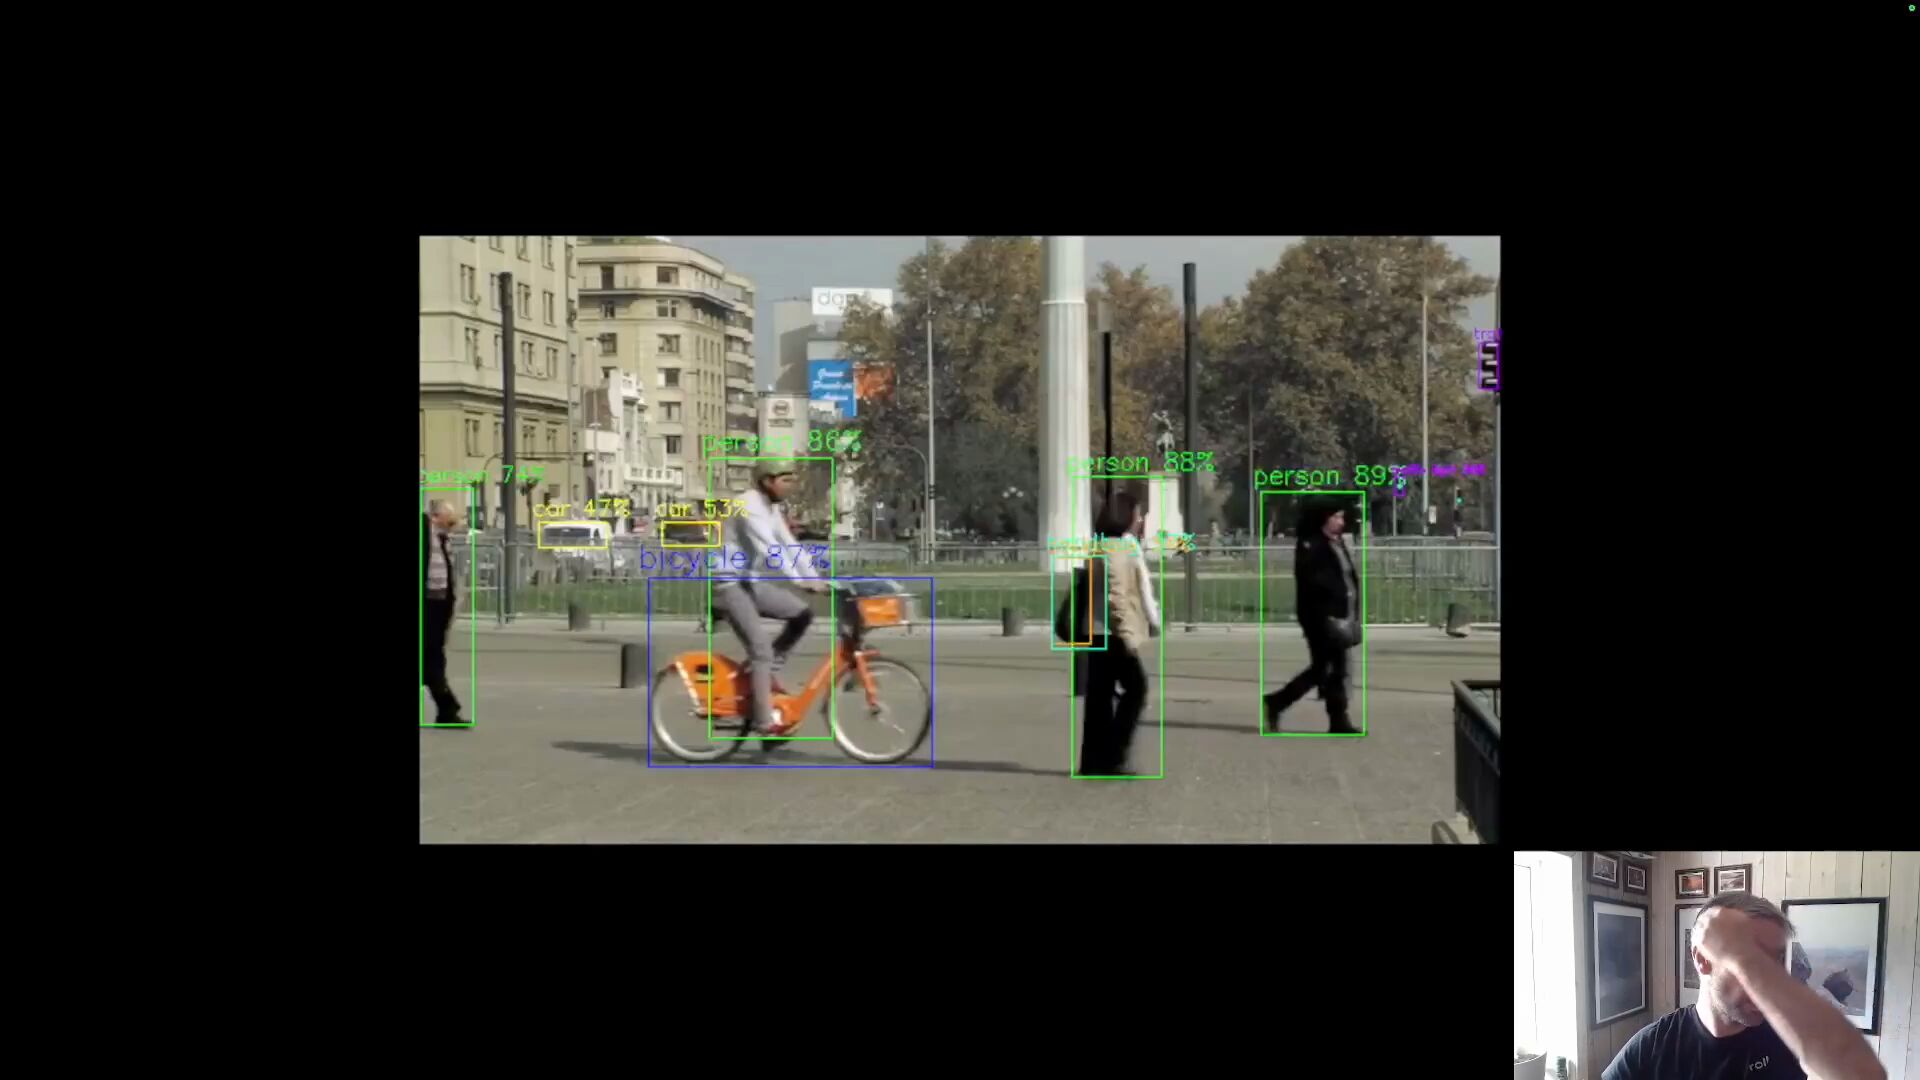
- Experiment with pre-trained models and try building your own GStreamer pipeline for video processing.
Future Projects
The possibilities are endless! Here are some ideas to explore:
- Dash Cam Project: Create a number plate recognition tool to log number plates as you drive.
- Real-time AI Applications: Attach cameras and see how well your Raspberry Pi handles real-time AI tasks.
Conclusion
With just a few steps, you can transform your Raspberry Pi into an AI powerhouse. Whether you’re interested in experimenting with AI models or developing your own applications, this compact device offers endless potential.
So, are you ready to take your Raspberry Pi on an AI adventure?
Happy building! See you next time!