How to Train an Image Classifier for Wildlife Monitoring
Published on
Introduction
Welcome to this guide on training an image classification model! In this guide, we’ll walk you through the process of training an image classification model using a popular deep learning framework. By the end of this guide, you’ll have a better understanding of how to prepare your data, build and train a model, and evaluate its performance.
Image classification models are used to automatically classify images into predefined categories or classes. These models are widely used in various applications, such as wildlife monitoring, face detection, and content moderation.
In this guide, we’ll focus on training an image classification model for wildlife monitoring. We’ll use a dataset of images of different animals, such as foxes, cats, and dogs, to train our model to recognize and classify these animals.
Step 1: Prepare Your Data
We will train a simple model to recoginize foxes, cats, and dogs. We will use a dataset of images of these animals to train our model.
You can download the unlabeled dataset and follow along if you wish.
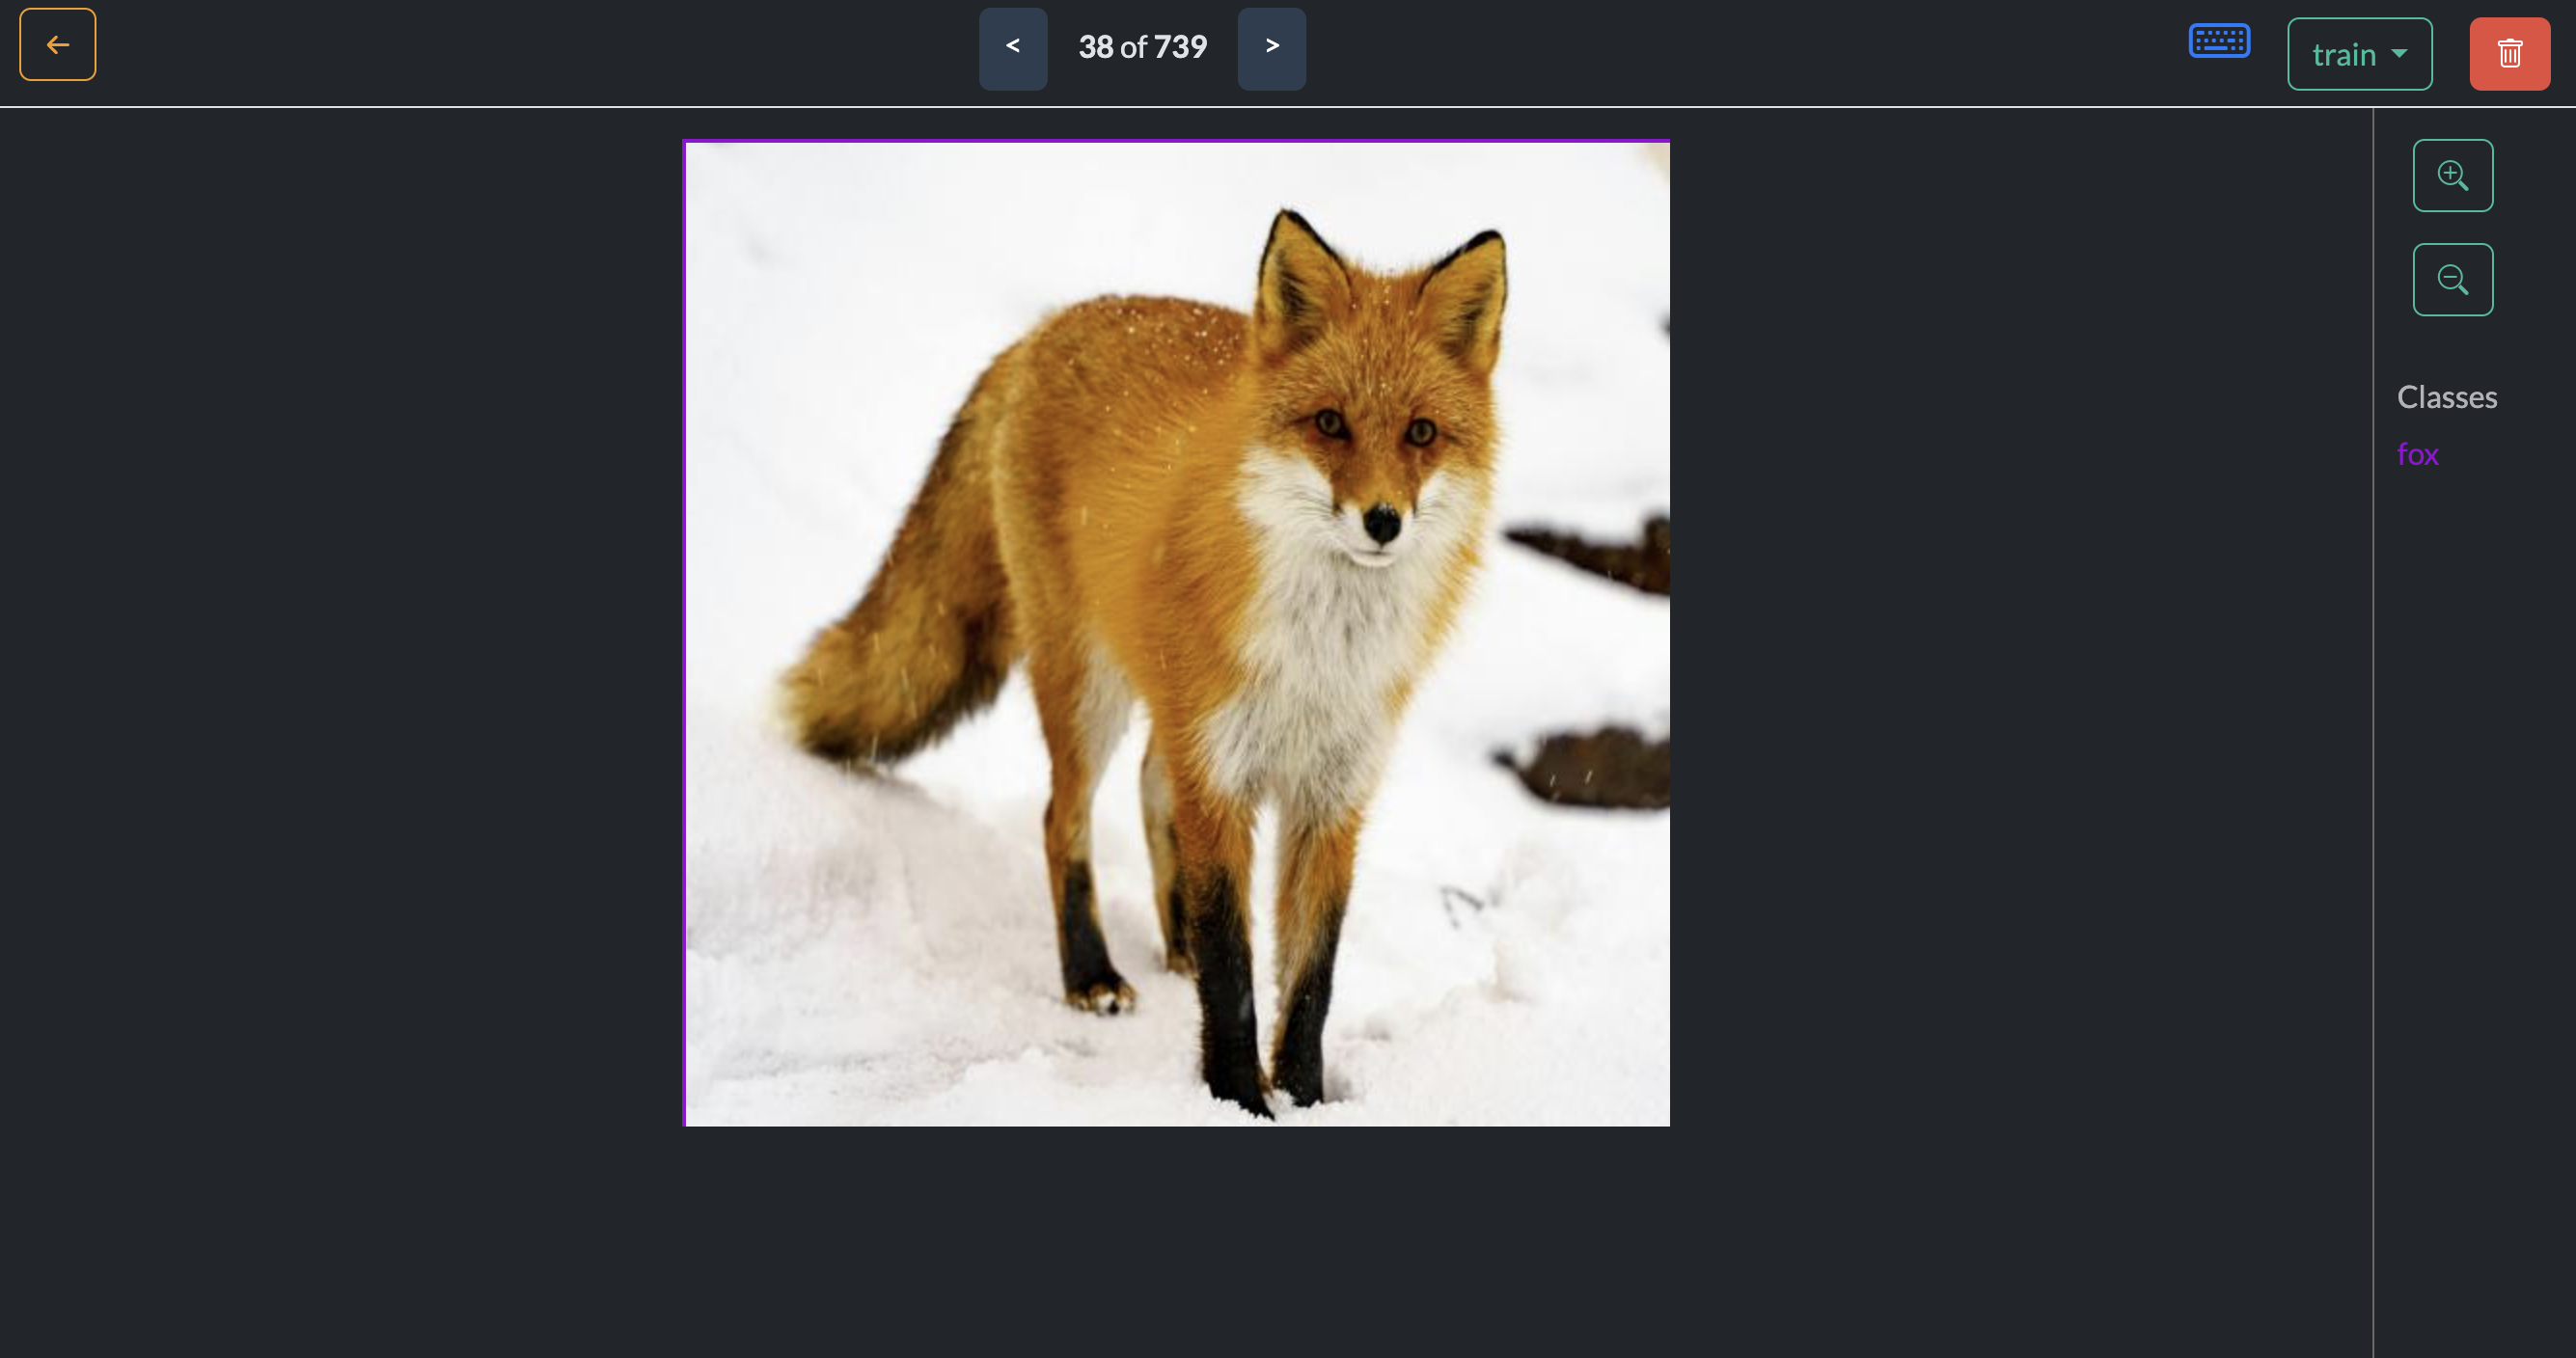
We will use the oslo annotation tool to annotate our dataset. You can find a guide on how to annotate your data with oslo. There are some minor differences with image classification projects, but the process is largely the same.
Step 2: Create the dataset
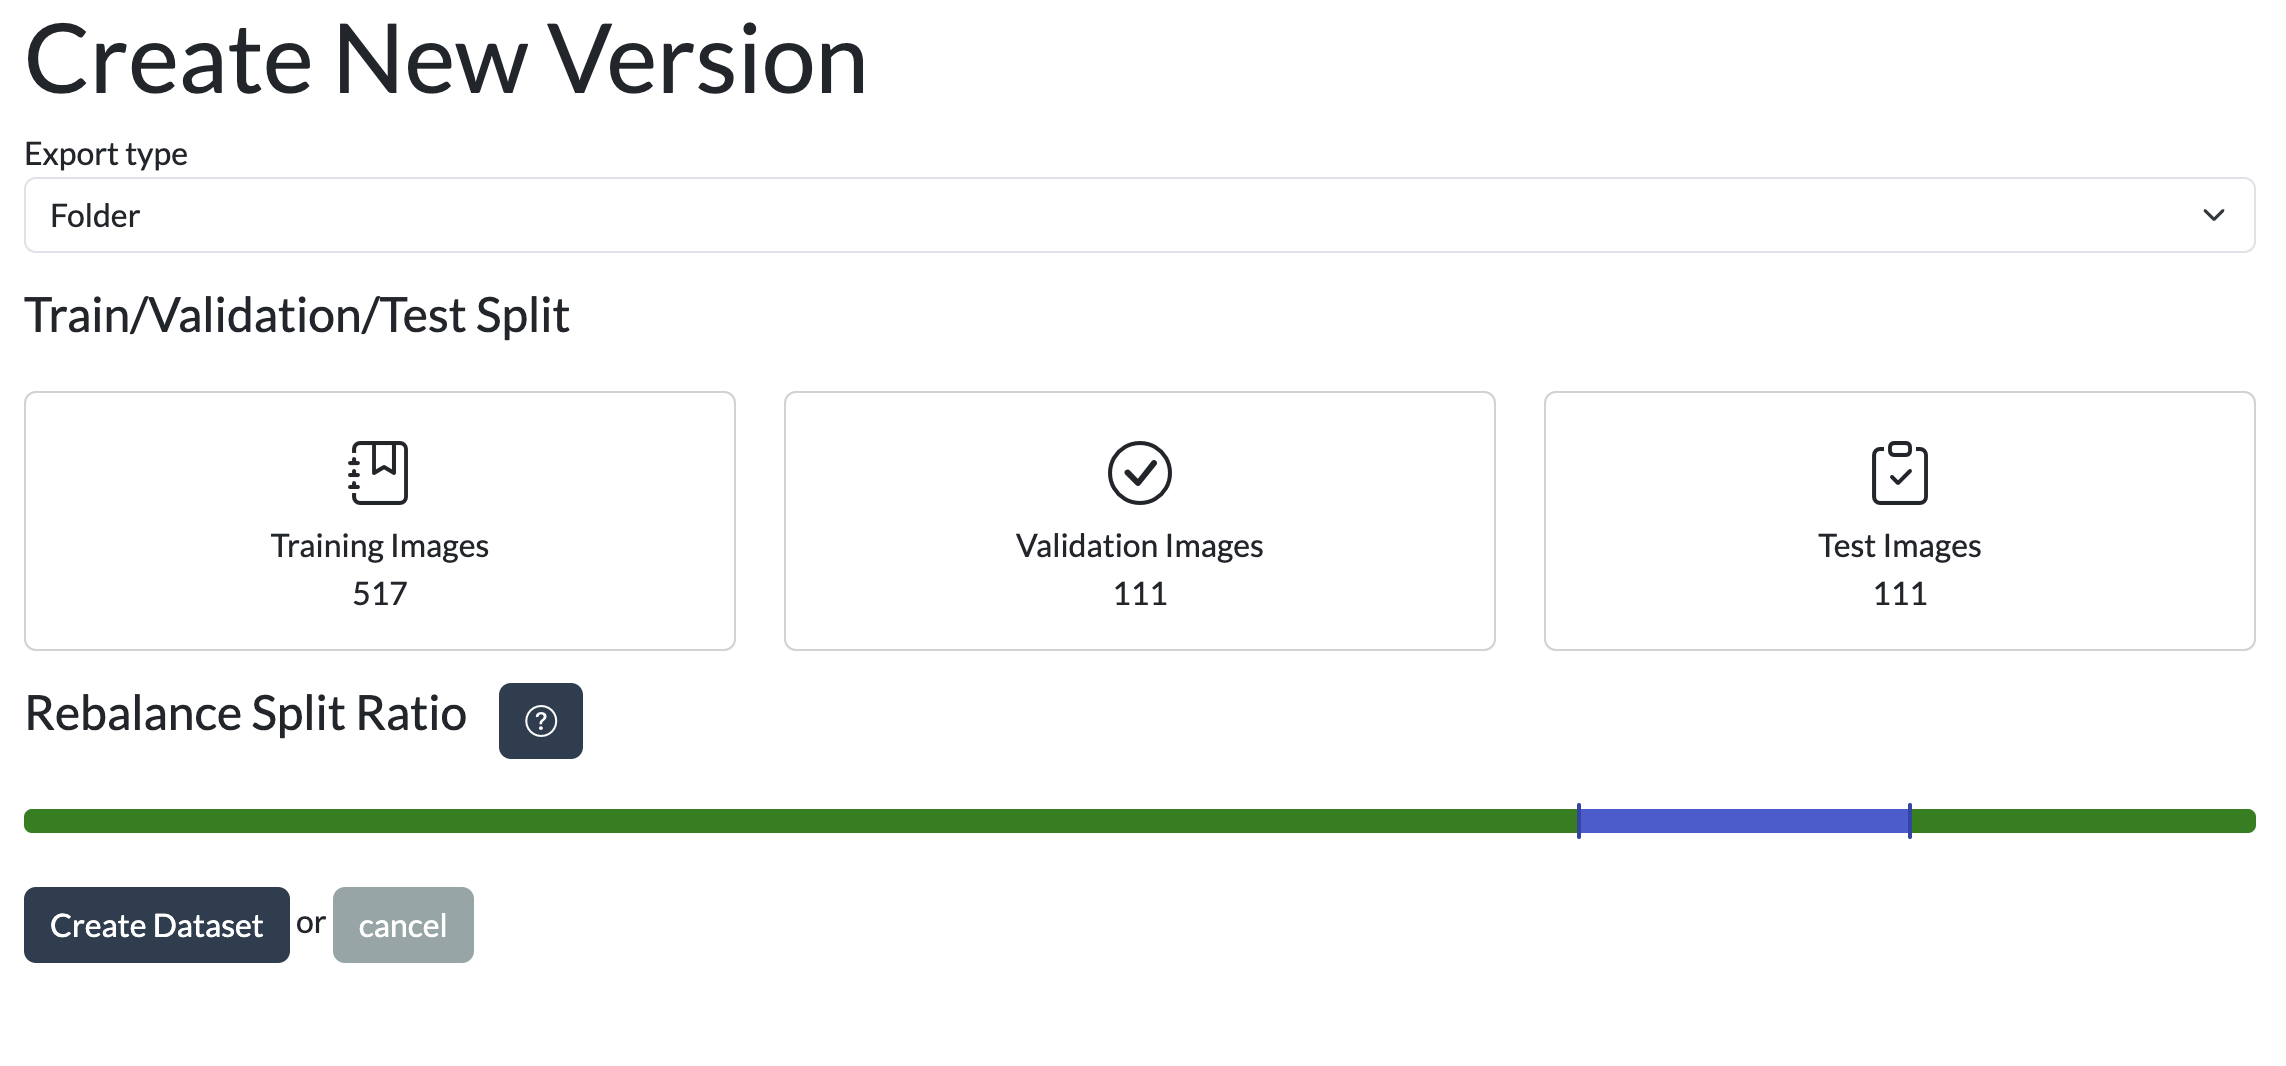
After annotating your data and adding the annotated images to the dataset, you can create a version of the dataset. This will allow you to track changes to the dataset and create new versions as you add more data.
Go to the export section of the oslo tool and export your dataset in the format of your choice. In this case, we will export our dataset in the folder structure format.
We will then run some training on the dataset, in this case we will train a YOLOv8 classifier on the dataset and review performance.
The dataset should be structured as follows:
dataset/
  train/
    fox/
      *.jpg
    cat/
      *.jpg
    dog/
      *.jpg
  val/
    fox/
      *.jpg
    cat/
      *.jpg
    dog/
      *.jpg
  test/
    fox/
      *.jpg
    cat/
      *.jpg
    dog/
      *.jpg
Here is an example notebook that you can use to train an image classifier
This notebook is also available in the training section of Oslo.

Train a model
Step 3: Train and Evaluate the Model
Here is a simple example of how you can train a YOLOv8 classifier on the dataset using the OsloVision API.
import os

HOME = os.getcwd()
print("HOME:", HOME)

!pip3 install -U oslovision

from oslovision import OsloVision

project_identifier = "[YOUR_PROJECT_IDENTIFIER]"
access_token = "[YOUR_ACCESS_TOKEN]"
dataset_version = "[YOUR_DATASET_VERSION]"

oslo = OsloVision(access_token)

# Download dataset
dataset_path = oslo.download_export(project_identifier, dataset_version, HOME)
print(dataset_path)

# Train the model
!yolo task=classify mode=train model=yolov8l-cls.pt data=$dataset_path epochs=100 imgsz=640 plots=True
Once training is finished, first view the training results and then evaluate the model on the test set.
# Check the training results directory
!ls {HOME}/runs/classify/train/
# View the confusion matrix

from IPython.display import display, Image
Image(filename=f'{HOME}/runs/classify/train/confusion_matrix.png', width=600)
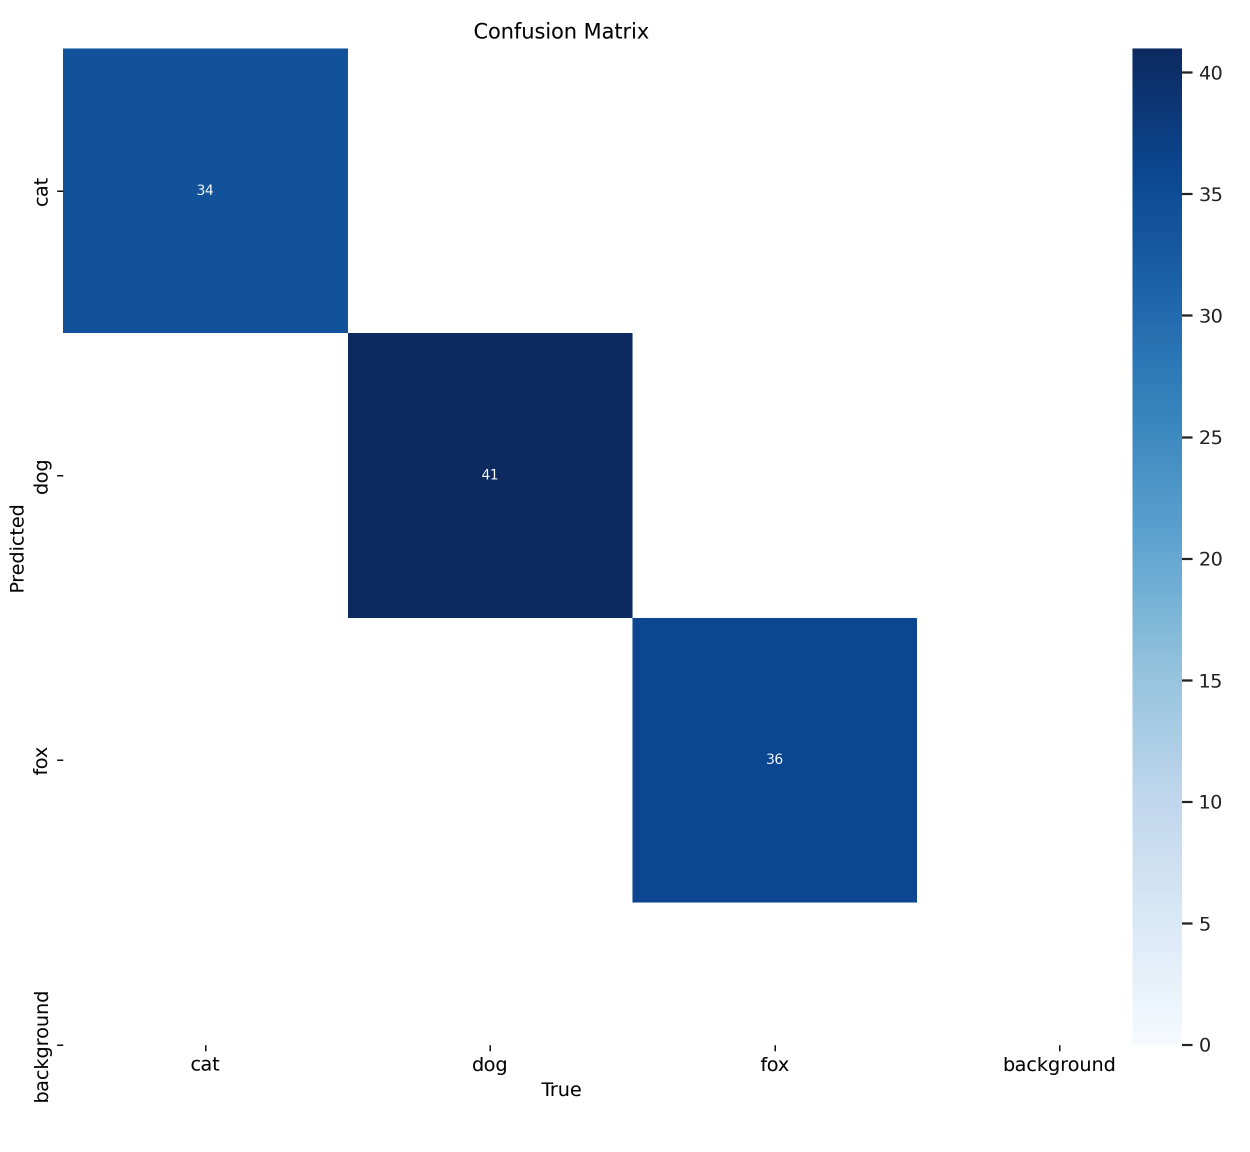
Results are looking very good! Now let’s evaluate the model on the test set, data that the model has never seen before.
!yolo task=classify mode=predict model={HOME}/runs/classify/train/weights/best.pt conf=0.25 source=$dataset_path/test/fox save=True
!yolo task=classify mode=predict model={HOME}/runs/classify/train/weights/best.pt conf=0.25 source=$dataset_path/test/cat save=True
!yolo task=classify mode=predict model={HOME}/runs/classify/train/weights/best.pt conf=0.25 source=$dataset_path/test/dog save=True
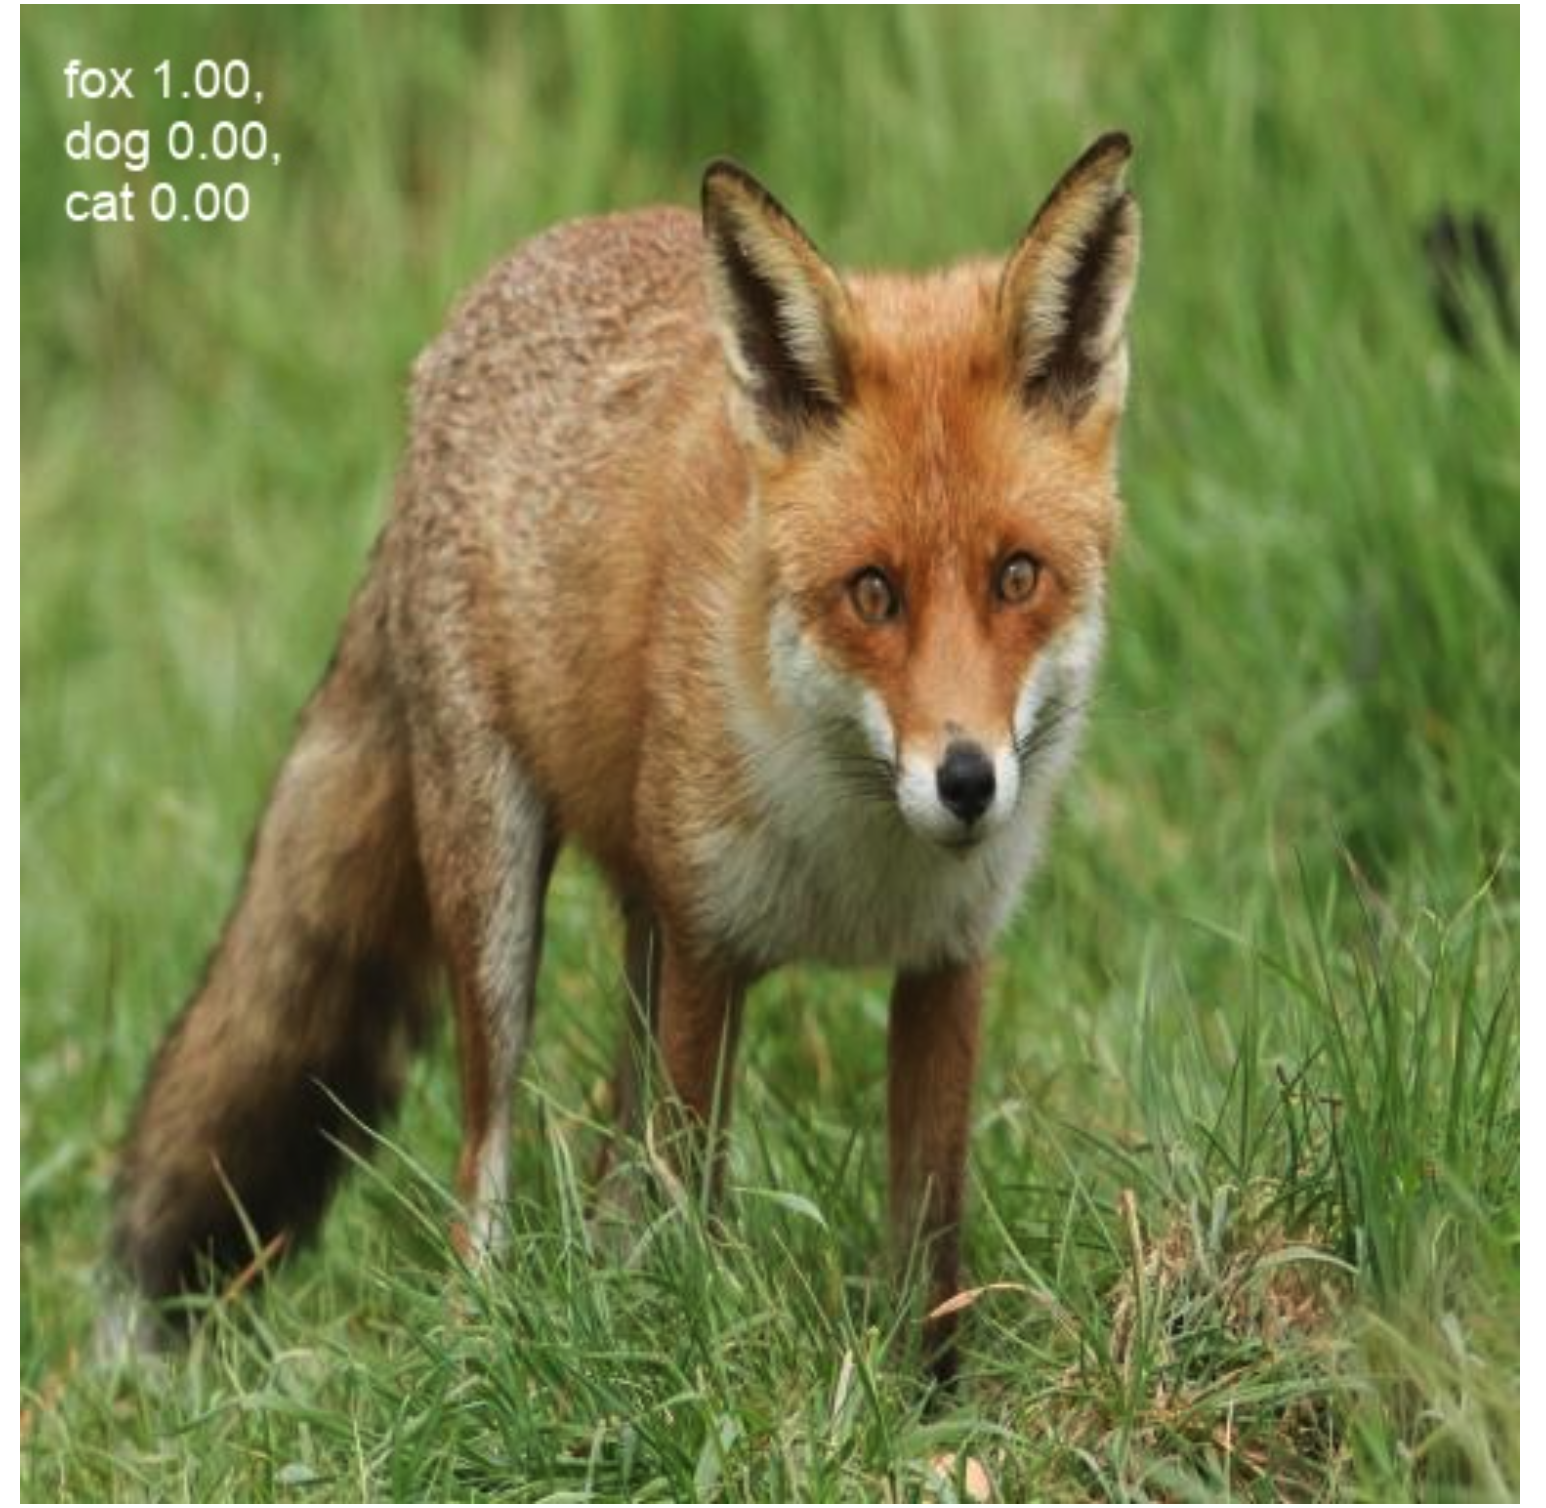
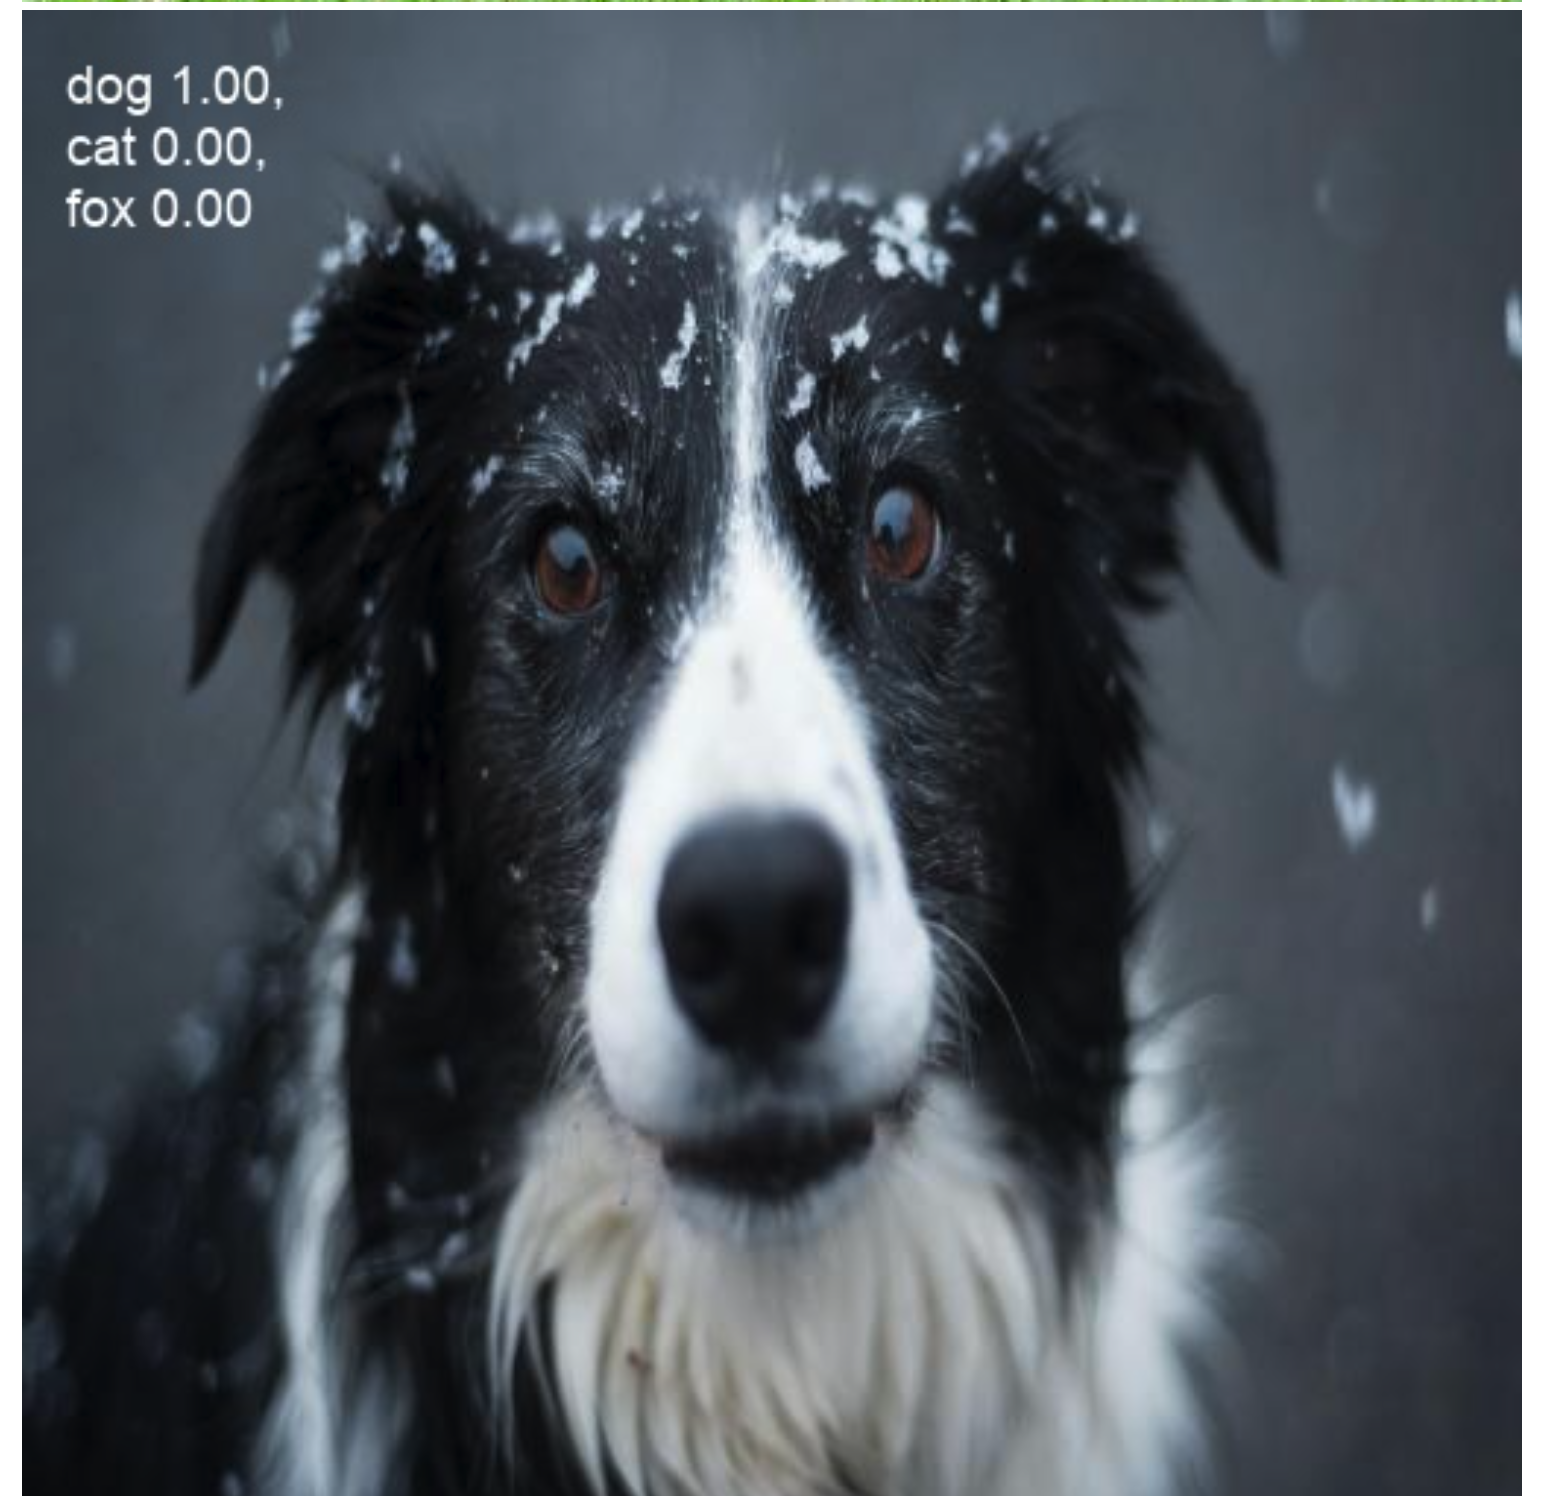
Then we can visualize random predictions from the test set.
import glob
import random

from IPython.display import Image, display

# Get all image paths
image_paths = glob.glob(f'{HOME}/runs/classify/predict*/*.jpg')

# Select up to 60 random images
random_images = random.sample(image_paths, min(len(image_paths), 60))

# Display the selected images
for image_path in random_images:
    display(Image(filename=image_path, width=640))
If you would like to download the model weights, they are available here. Remember to respect the ultralytics license when using the model.
Conclusion
In this guide, we walked you through the process of training an image classification model for wildlife monitoring. We started by preparing our data, annotating the images, and creating a version of the dataset. We then trained a YOLOv8 classifier on the dataset and evaluated its performance on the test set.
Its relatively easy to train image classification models and they are easier to work with than object detection models. You can also use image classifiers in a pipeline with object detection models to improve performance.